Fixing an EPSON CX-3700 ink jet printer.
by Ralph Klimek November 2010
Abstract:
An account of an attempted repair of an EPSON CX-3700 ink jet printer with a clogged nozzle.
Keywords : 3700 EPSON ink jet printer, clogged nozzle, disassembly hints and advice.
I
have long been very fond of Epson printers. This is because they
are the only printer maker that does not charge punitively for ink. The
prices for branded ink are not that much greater than clone inks, and
given the potential for harm from the clones, I still like to buy
genuine branded inks. However, notwithstanding that, the time
came when the cyan nozzles on my CX3700 became blocked and the
built in cleaning procedure did not succeed in clearing the blockage.
There was no other option then to proceed to attempt to clear the
blockage manually or the printer would have to be discarded. It
has allready provided two years of good service, so maybe some more
life was possible.
For some strange reason, the service manuals
for these products are extremely difficult to find on the web.
Eventually I found an obscure site in Russia for where I found the
actual service manual. I needed this for instructions for
dissassembly. There are a few simple tricks required to seperate
the scanner unit from the main printer body without causing
damage to both.
The Epson ink jet systems generally
use a water soluble ink and seperate ink tanks. The printing
nozzle assembly is seperate and is expected to endure for the life of
the printer. The nozzle holes are very small. The inbuilt
cleaning mechanism consists of a rubber blade that wipes the
ceramic nozzle plate and a vacuum pump that draws ink through the print
head from the ink tanks. The pumped ink flow is expected to clear
most blockages, and will do so for a couple of years. No mechanism is
perfect, and neither is this one. Eventually coagulated ink accumulates
on the ceramic nozzle holes which no amount of "cleaning" can shift.
I have successfully rejuvenated Epson printers in the past.
The method requires the dissasembly of the print head and the
freeing up of the nozzle plate. It is not allways clear how to do
this. The cheap printers are "progessively assembled" which means that
many things must be removed in sequence.
The liberated nozzle
plate may be soaked in undiluted plain old green dishwashing liquid for
about 24 hours. This will clear nearly all blockages, even those caused
by a completely dried out printer that has been idle for years. The
nozzle plate should be thoroughly rinsed in clean tap water after the
soaking and reassembled. It is possible to reuse the old ink
tanks if they are still mostly full. There is a gotcha. Do not
even power up the printer without the ink tanks in place. The
printer firmware reads and writes a serial EPROM on the ink tanks ink
usage information. If the printer is power cycled without ink tanks in
place the firmware can be irreversibly confused and will throw a
"general error". This is mostly not recoverable. ( I learned this
the hard way !)
DO NOT USE solvents ! (metholated spirits, acetone, kerosene etc. These will destroy the printhead!)
The
ink tanks can be reused, only if air does not enter them from the
needle hold. When you remove them immediately seal the needle hole with
cling wrap and store them with the needle hole down.
Re-assemble the printer , insert your recovered ink tanks and only then re-apply power. All should be good !
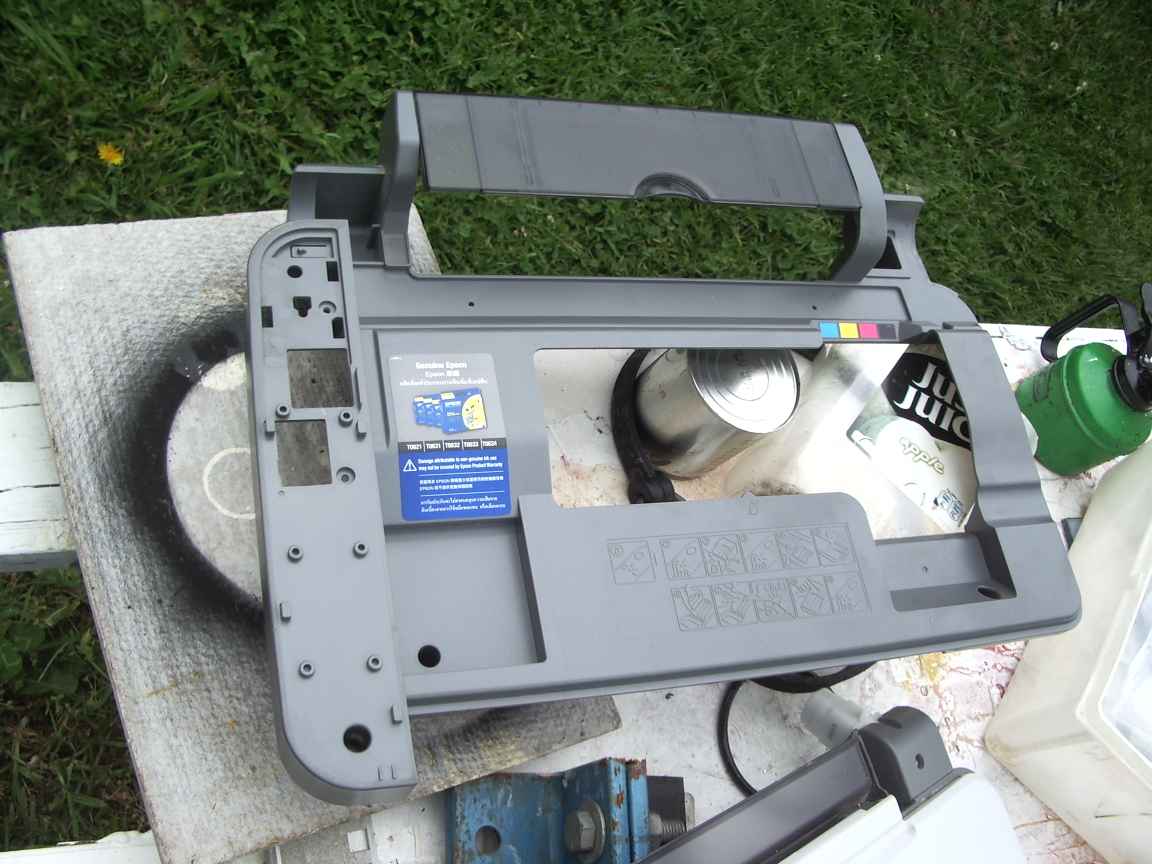
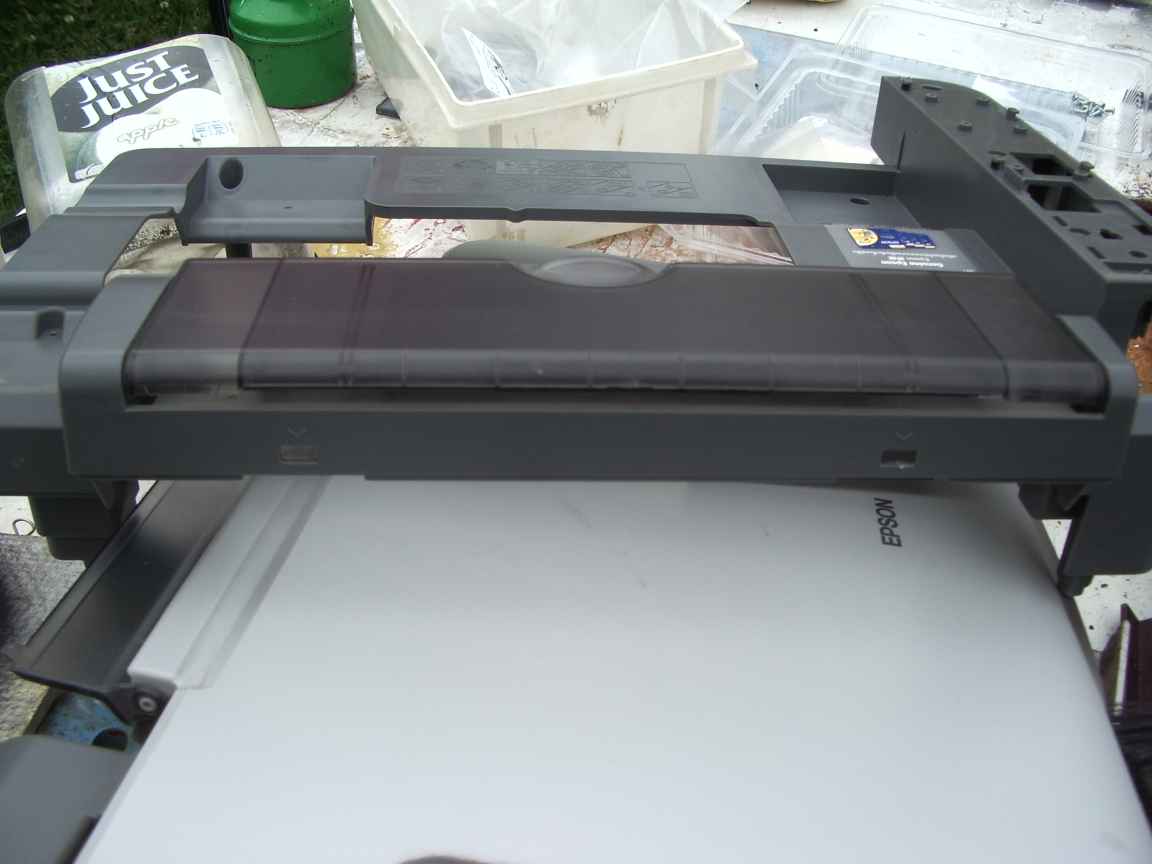
The
trick to dissasemble models with the built in scanner unit is to start
with the left hand hinge. There is a snap in cover plate below
this hinge. Remove it first. This exposes the 3 cables going to
the scanner unit. Carefully unplug these and you will see a small self
tap screw that secures the scanner hinge leg in place. Remove this
screw, and the screw that only secure the right hand side hinge foot.
The scanner unit now can be gently lifted clear of the printer body.
If it seems hard or tricky, just remember that an untrained
agricultural migrant worker was able to assemble it with nothing more
than a worn out screwdriver ! You can then remove the top cover
molding which exposes the printer carriage assembly. Do not
force any movement of the carriage, there are plastic cams that lock
the carriage and nozzle plate over a rubber cap that is designed to
prevent the nozzle plate from drying out. If you are carefully,
there is a white plastic cam between the ink tank holders and the
rear metal work that can be depressed to release the carriage.
The nozzle plate can be removed without moving the carriage of its rest
position.
The one thing to remember when dis-assembling these
things is this: If you are using too much brute force, you are doing it
wrong ! Screws and push tabs can be very cunningly hidden ! Look for
them !
Remove and store the ink tanks as advised. Remove
the nozzle plate from above by removing some screws and carefully
detach the ribbon cable.
Assembly is the reverse of the above.
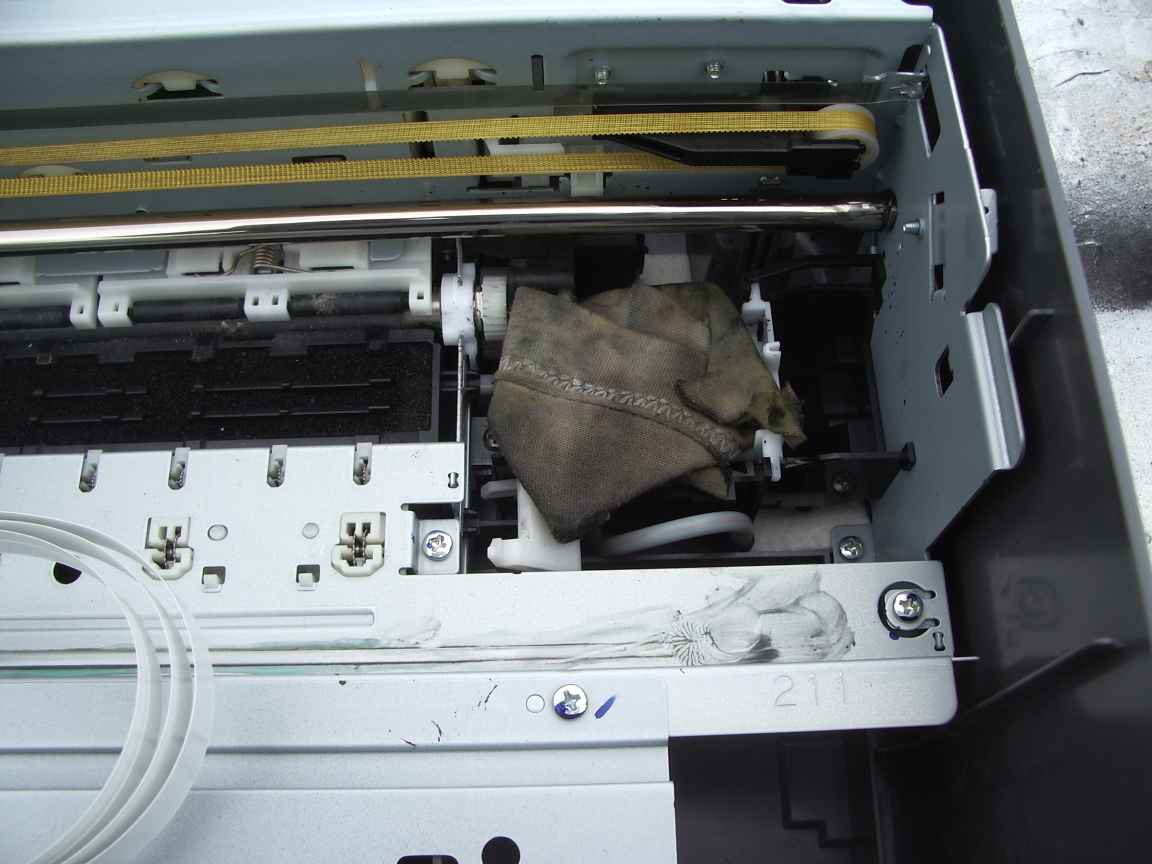
Try to keep the nozzle capping sponges moist during this
operation, I use a damp rag.
Make sure that the carriage guide
plates and axle are clean of rubbish and lightly greased. Many printers
are discarded only because the carriage assembly binds to the axle due
to paper dust and dried out oil. These can be cleaned up with
kerosene, but after this apply just a little machine oil.
The
printer can be reused, however you must first run the nozzle cleaning
program, this will charge the nozzle plate with ink and blow out any
remaining detergent.
When you are removing these small
assemblies take care with the flat ribbon cables. They have been
carefully folded to fit and relieve mechanical stresses in printer
operation so be carefully to note and maintain the folds.
The
CX3700 service manual can be obtained by a google search, limit the
search to "site:.ru" ( that is , just search for Russian sites !)
otherwise you just get a million ebay and junk site references. I
cannot provide the manual myself due to copyright restrictions and it
is too big to go through email. The manual didnt say more than I am
repeating here but I did find it usefully for hints on the correct
dis-assembly method. Most other faults really cannot be repaired.
I
am puzzled as to why Epson cannot provide the service manuals on their
corporate web sites as they do provide user manuals and drivers. I am
sure you would agree with me that provision of the service manual would
make it a more attractive as a purchasing option.
This
print
head cleaning method IS NOT recommended by Epson. Do this only as
a last resort and only on a printer that you were about to discard.
If after this procedure you get a "general error" indicated by
all front panel lights flashing and a windows driver check box, just
throw the thing away and buy a new one. It is extremely difficult
to determine the cause as the printer firmware will not tell you what
triggered it.
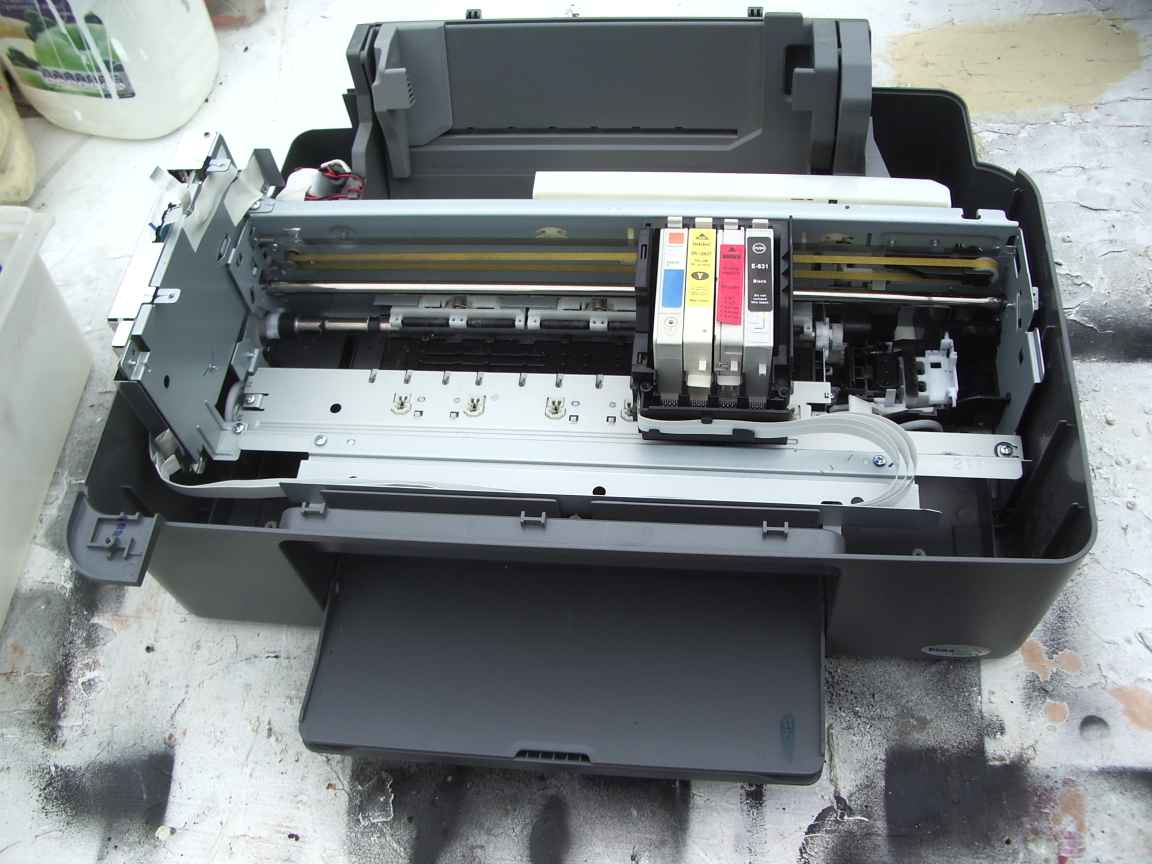 | 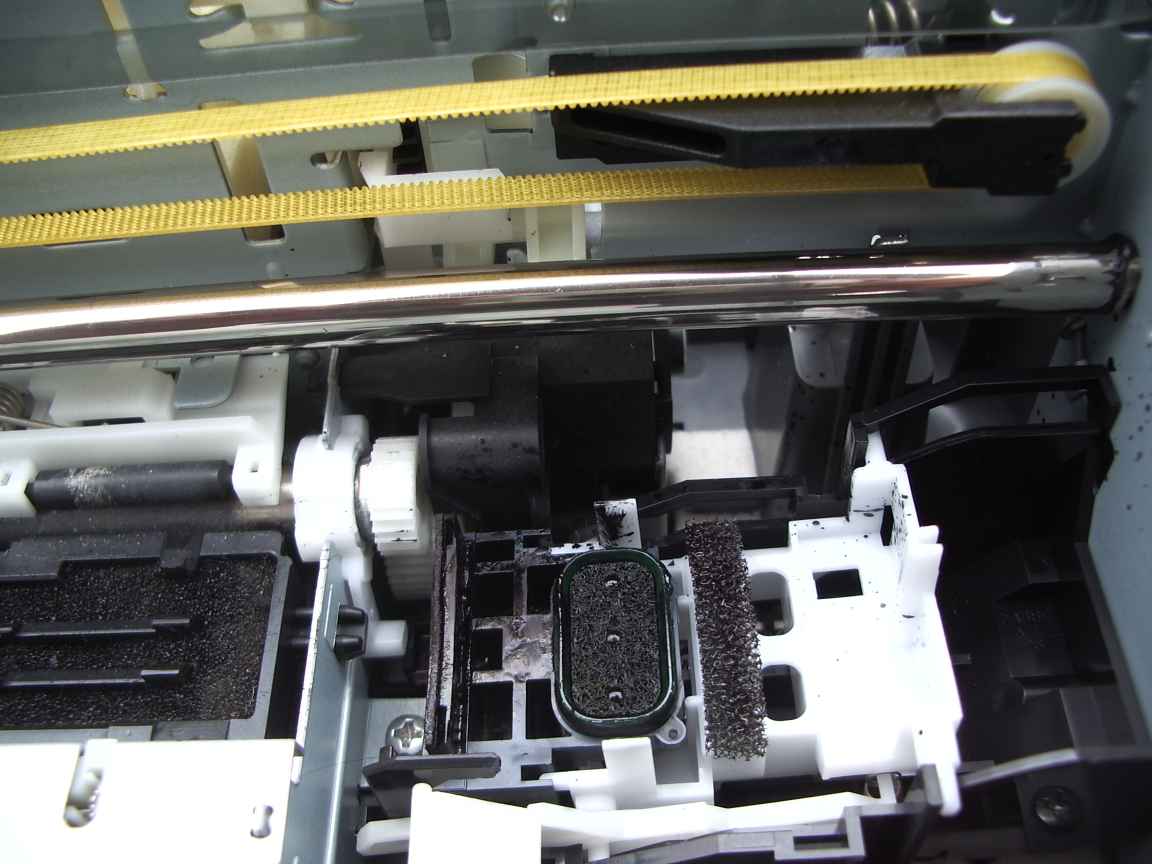 |  |
| the carriage has been freed to move after the scanner unit, top cover and control panel have been removed | visible
here is the rubber wiper blade and the ellipsoidal cap. This cap
engages with the nozzle plate to stop it drying out . Just behind
the timing belt you can see a white plastic tab. gently depress this to
release the carriage and allow the carriage to slide freely. Do not use
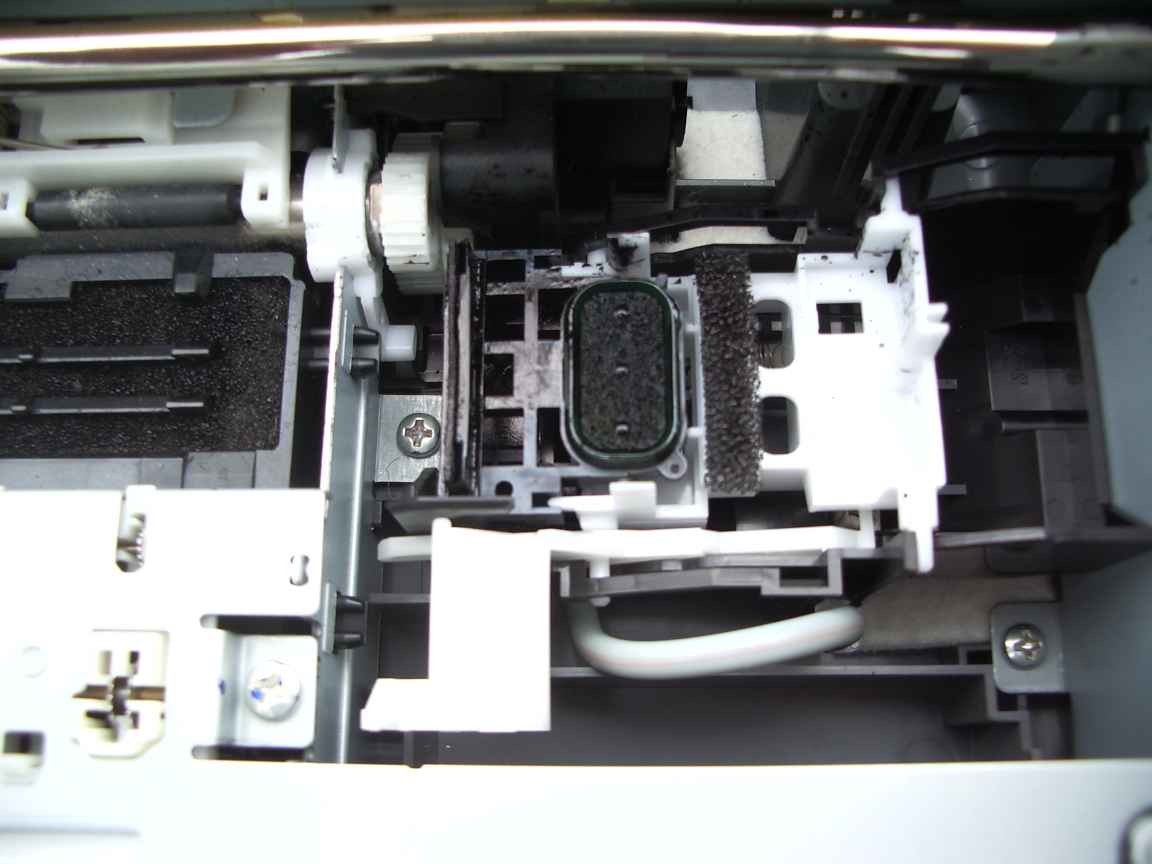
excessive force here | The white rubber hose goes to a
little vacuum pump. It applies gentle suction to the head cap. It
is this which performs the ink charging and "unclogging". The rubber cap must make good contact with the nozzle plate. |
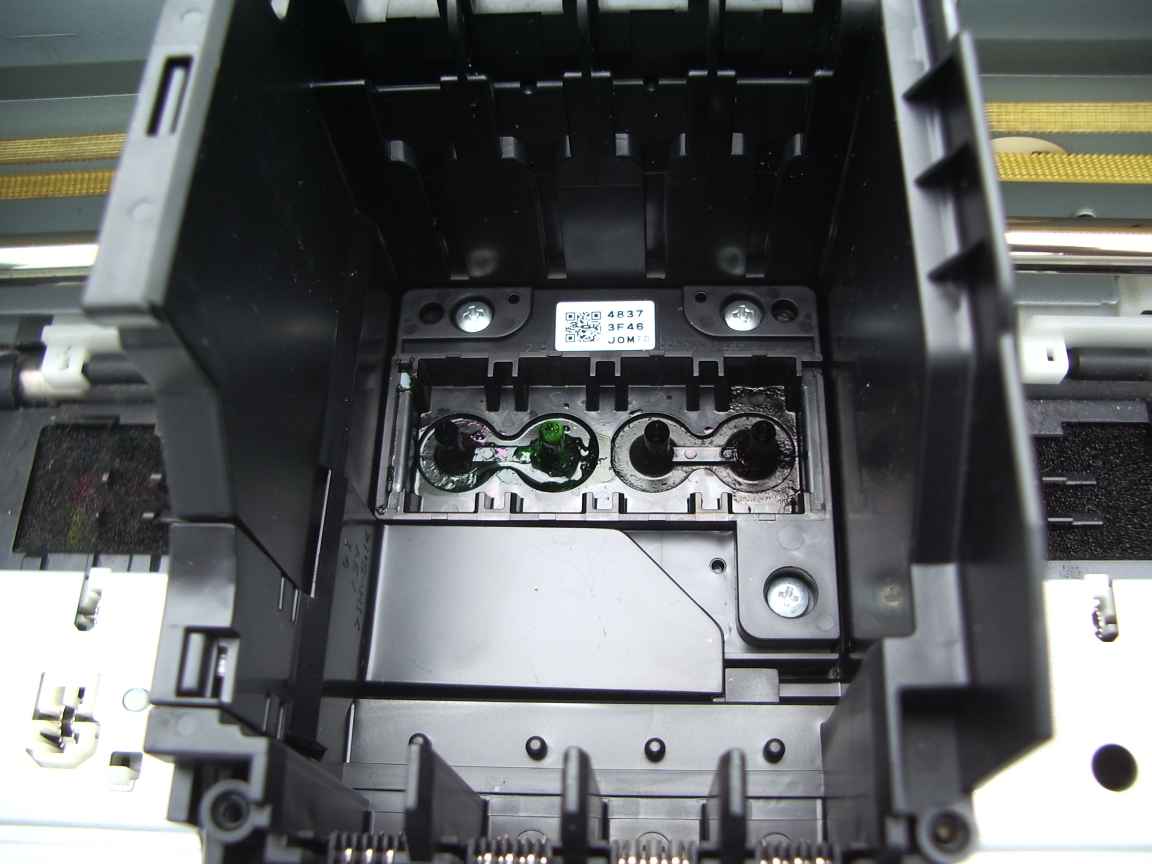 | 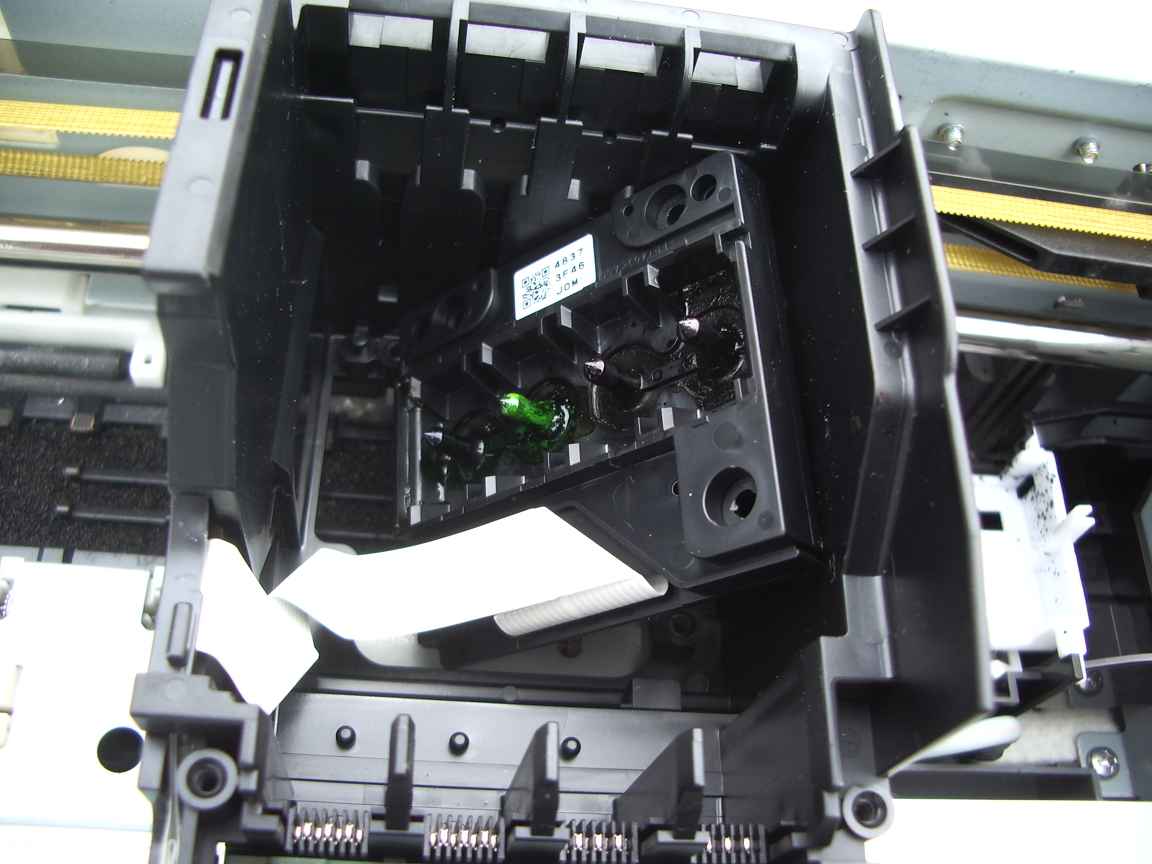 |  |
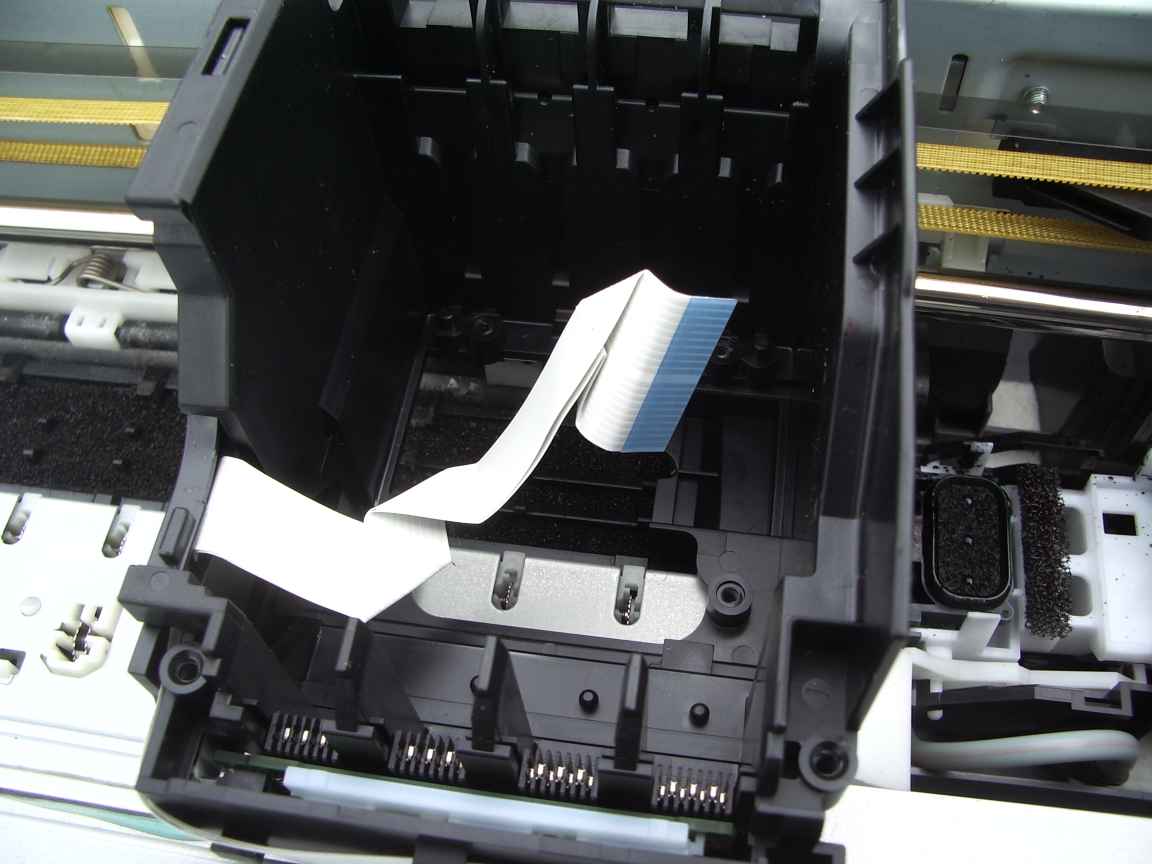
| carriage with ink tanks removed. The four needles push upwards through the shipping seals of the ink tanks | unclip
the plastic cover that shields the ribbon cable. Remove 4 screws
holding the nozzle plate. Remove the nozzle plate and take care to
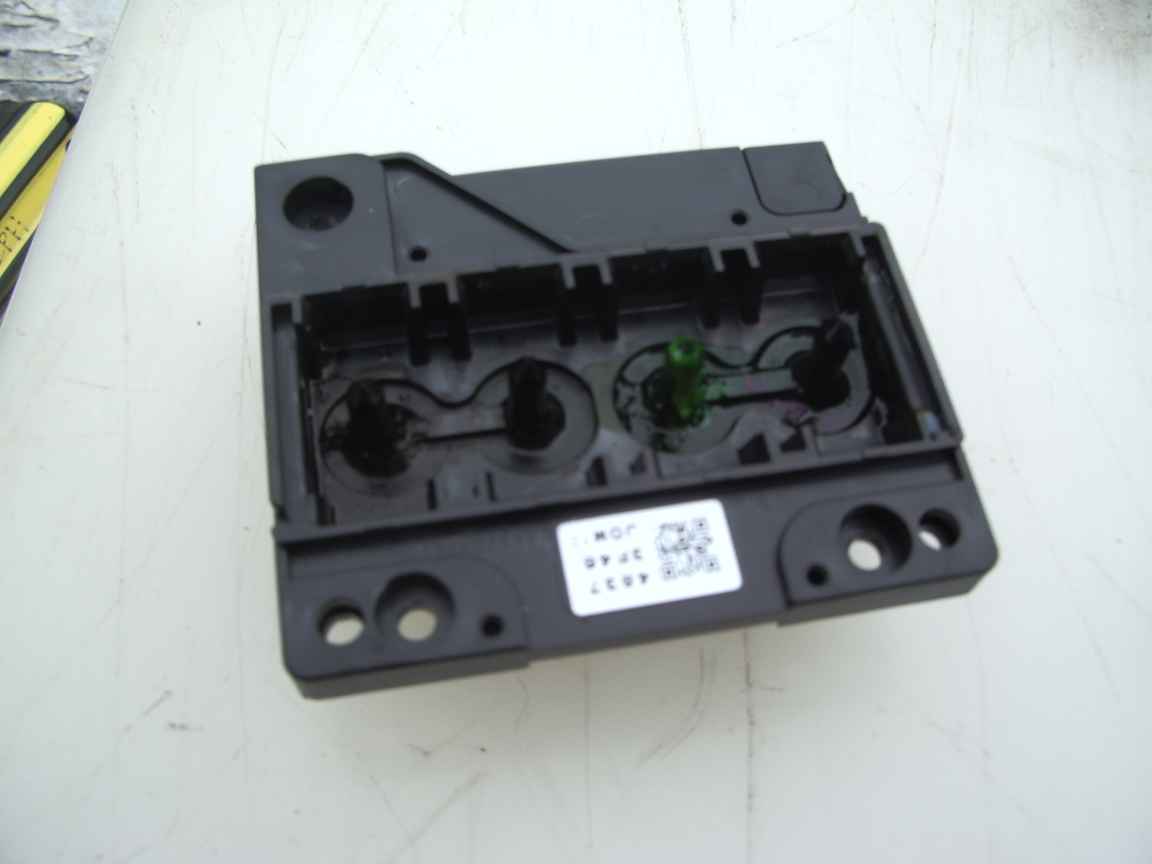
preserve the ribbon cable and the folds. | the freed nozzle plate. Act quickly, do not permit the nozzle plate to dry out. |
 | 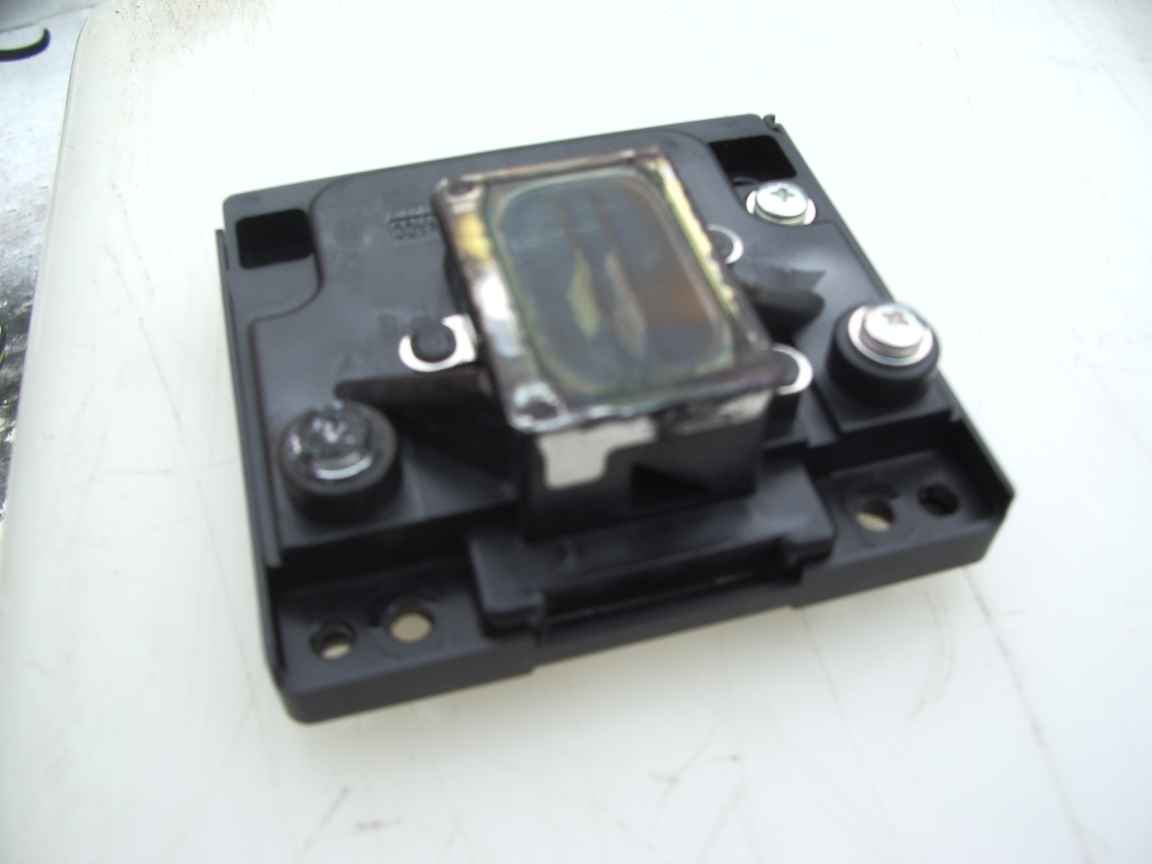 |  |
| The ribbon cable can be removed from the nozzle plate by pulling gently. Maintain the orientation of the ribbon folds. It must go back exactly the way it came out. | This is the "business end" of the nozzle plate. Notice the amount of dried glugged up ink. Zoom in and you can just see the nozzle holes | clean the wiper, rubber caps, and while working, keep these mechanisms moist with a damp cloth
|
 |  | 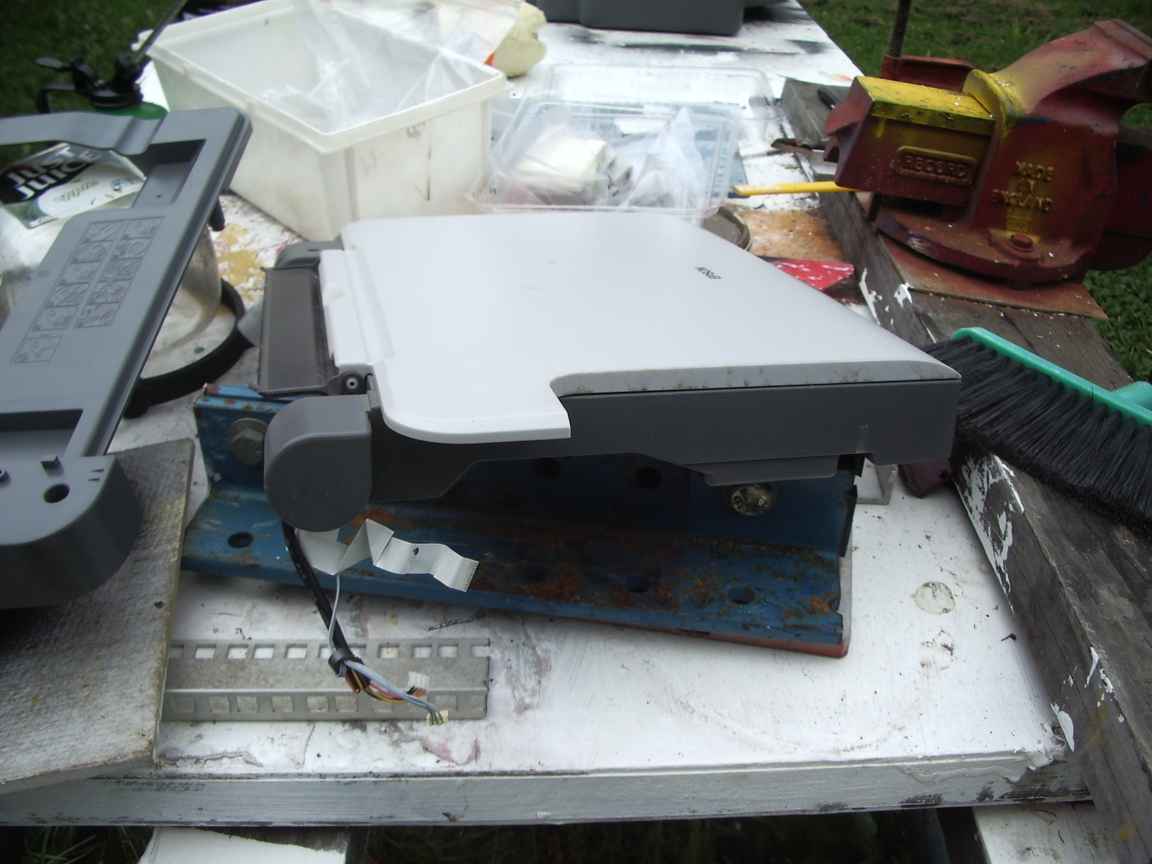 |
| | The
scanner hinge has 3 cables carefully threaded through it. Free
the cables from the main body by first removing a little cover plate
immediately below this hinge. |
Here is an idea !
Save
your empty ink tanks and refill a set with liquid detergent. Then just
run the normal unclogging procedure. You will need to find the printer
resetting programs, again at your risk from mystery Russian site.
Must think about that one!

homepage
page created Thu Nov 25 17:54:19 EST 2010


