The Escritoire.
Ralph Klimek 2005
abstract: restoration of a
mystery "antique" desk, solid cedar wood, biult by an apprentice, a
tragic fault with the original construction was repaired, amatuer
woodwork
This desk was not made by me,
it was a restoration project and a small spiritual quest as well . This
desk was discovered on a council hard rubbish collection, looking sad
and forlorn in the rain, other discarded bric-a-brac suggested to the
impressionable a deceased estate's junk. I noticed that the wood was
naturally dark, it was solid wood, not some rubbishy laminated
chipboard. The wood was cedar! Golly ! This kind of wood and planks of
the size this desk was made from are simply unobtainable today. The
desk was broken and would need restoration and TLC before use. It was
"antique" in some superficial way, my guess that it was made before
1950 based on materials used, but I dont truly know its age.
The desk was first noticed by she-who-must-be-obeyed and I
think
she was attracted to the rare and precious wood in its
construction.
The desk and its construction faults intrigued me. It was a mixture of
ineptitude and professional expert skill. My deduction about its origin
is that it was constructed by a wood working apprentice possibly in a
technical school as an exercise piece or even master piece possibly in
the forties or fifties when cedar wood was still available. The use of
cedar for educational use is indicated because it is so easily worked
with hand tools. There were no markings, only layout lines, old
graffiti and deep scratches, this desk had also clearly served time as a garage
bench.
The structure of the desk had a very major defect. It is made from two
very wide dowelled parallel boards. The boards would have been hand
planed to mate perfectly. Over the years , perhaps even during
construction,
because the original wood had not been seasoned long enough,
both of the boards had bowed in opposite directions resulting in a
very large gap
in the desks top surface and totally spoiling it. Some attempts had been
made
to arrest the crack caused by the bowing by a previous owner or the builder
but these had obviously failed. I faced now the same problem, unless I
could close up the crack or reverse the bowing this poor old desk was
doomed. I can only feel for the student who built this, it must have
been a terrible disappointment as the residual and irresistable
forces in these two planks slowly ruined his work, maybe even just
before completion when it was too late to redo it.
Reversing the bowing was out of the question. I tried with sashcramps
to force it and then bind the crack closed but the force was equivalent
to several tons and nature cannot be fooled like this for long. I was
forced to follow the path of treating the the crack which at it widest
was nearly 4 mm, far too much for putty and anyway, filler would have
looked ugly under varnish. I was not going to paint it, no way.
There were remnants of putty in the crack from previous attempts to
remediate this problem. Rare wood deserves to be shown. The fix was
inspired by dentistry. I would recut the board in situ until both
internal edges were parallel and then with sash cramps force
the
halves to mate. I used a jigsaw between clamp-on guide boards to clean
up the crack and then by cutting, forcing, cutting , forcing until the
two edges mated perfectly. The hidden wood screws that held the
structure together had to be be found and cut to permit this. The wood
was used as is with its aquired bow now accounted for.
Finally I had the two surface boards mated perfectly. To be sure , the
hidden undersurface has cross beams installed that are heavily screwed
and glued to arrest any further tendancy to bow. The wood screws that
bound the top surface to the under structure had been expertly hidden,
now that they were cut and now offset by the forcing operation I had to
learn how to hide new and old screw holes to give a perfect top
surface. Luckily the local Bunnings sold me a plug cutter. I had a
small piece of the cedar wood used in an unseen part of the desk which
I used as a source of plugs. The resulting hidden holes were excellent
to merely good. I nailed this piece under the desk in case some future
restorer long after I go west needs it too!
With the structure now sound and other minor structural defects made
good I added a hidden mystery shelf just behind the front top surface
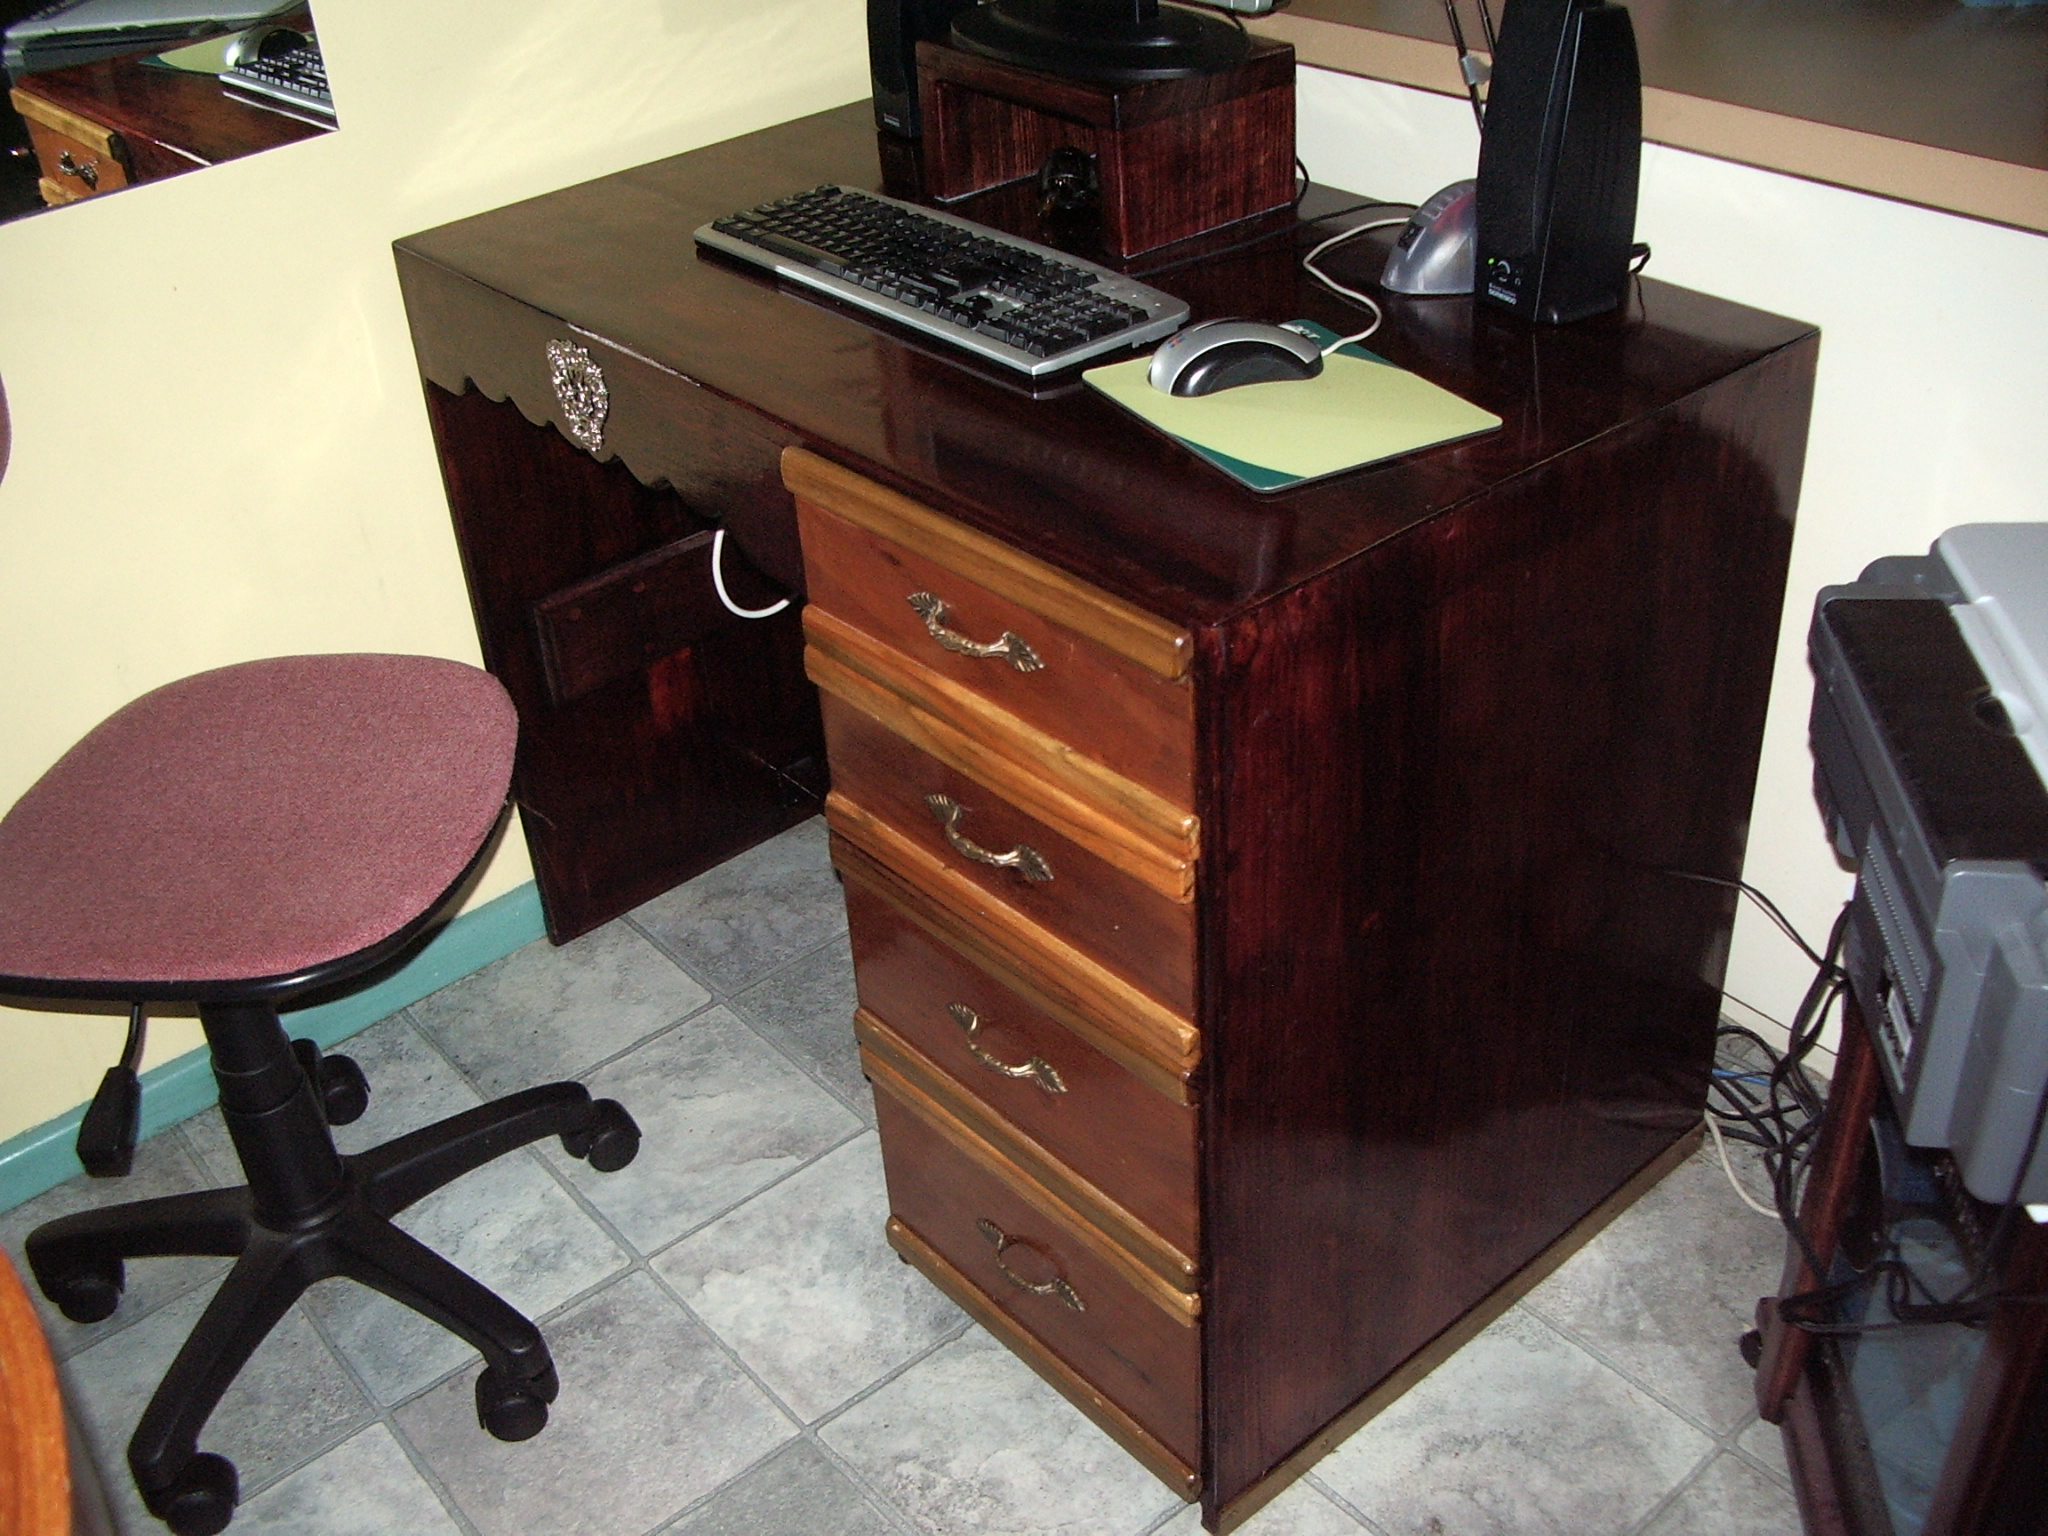
and turned my attention to the drawers. They had originally been
finished with a very high quality rare wood laminate. This had over the
years blistered off, the original animal glue having decayed. The edges
of the laminate had suffered physical abuse. Most of it was still
serviceable. It has been originally finished in dark french polish and
a hint of its beauty still remained. I routed off the damaged edges and
filled the resulting gap with treated pine sticks. This gave it an
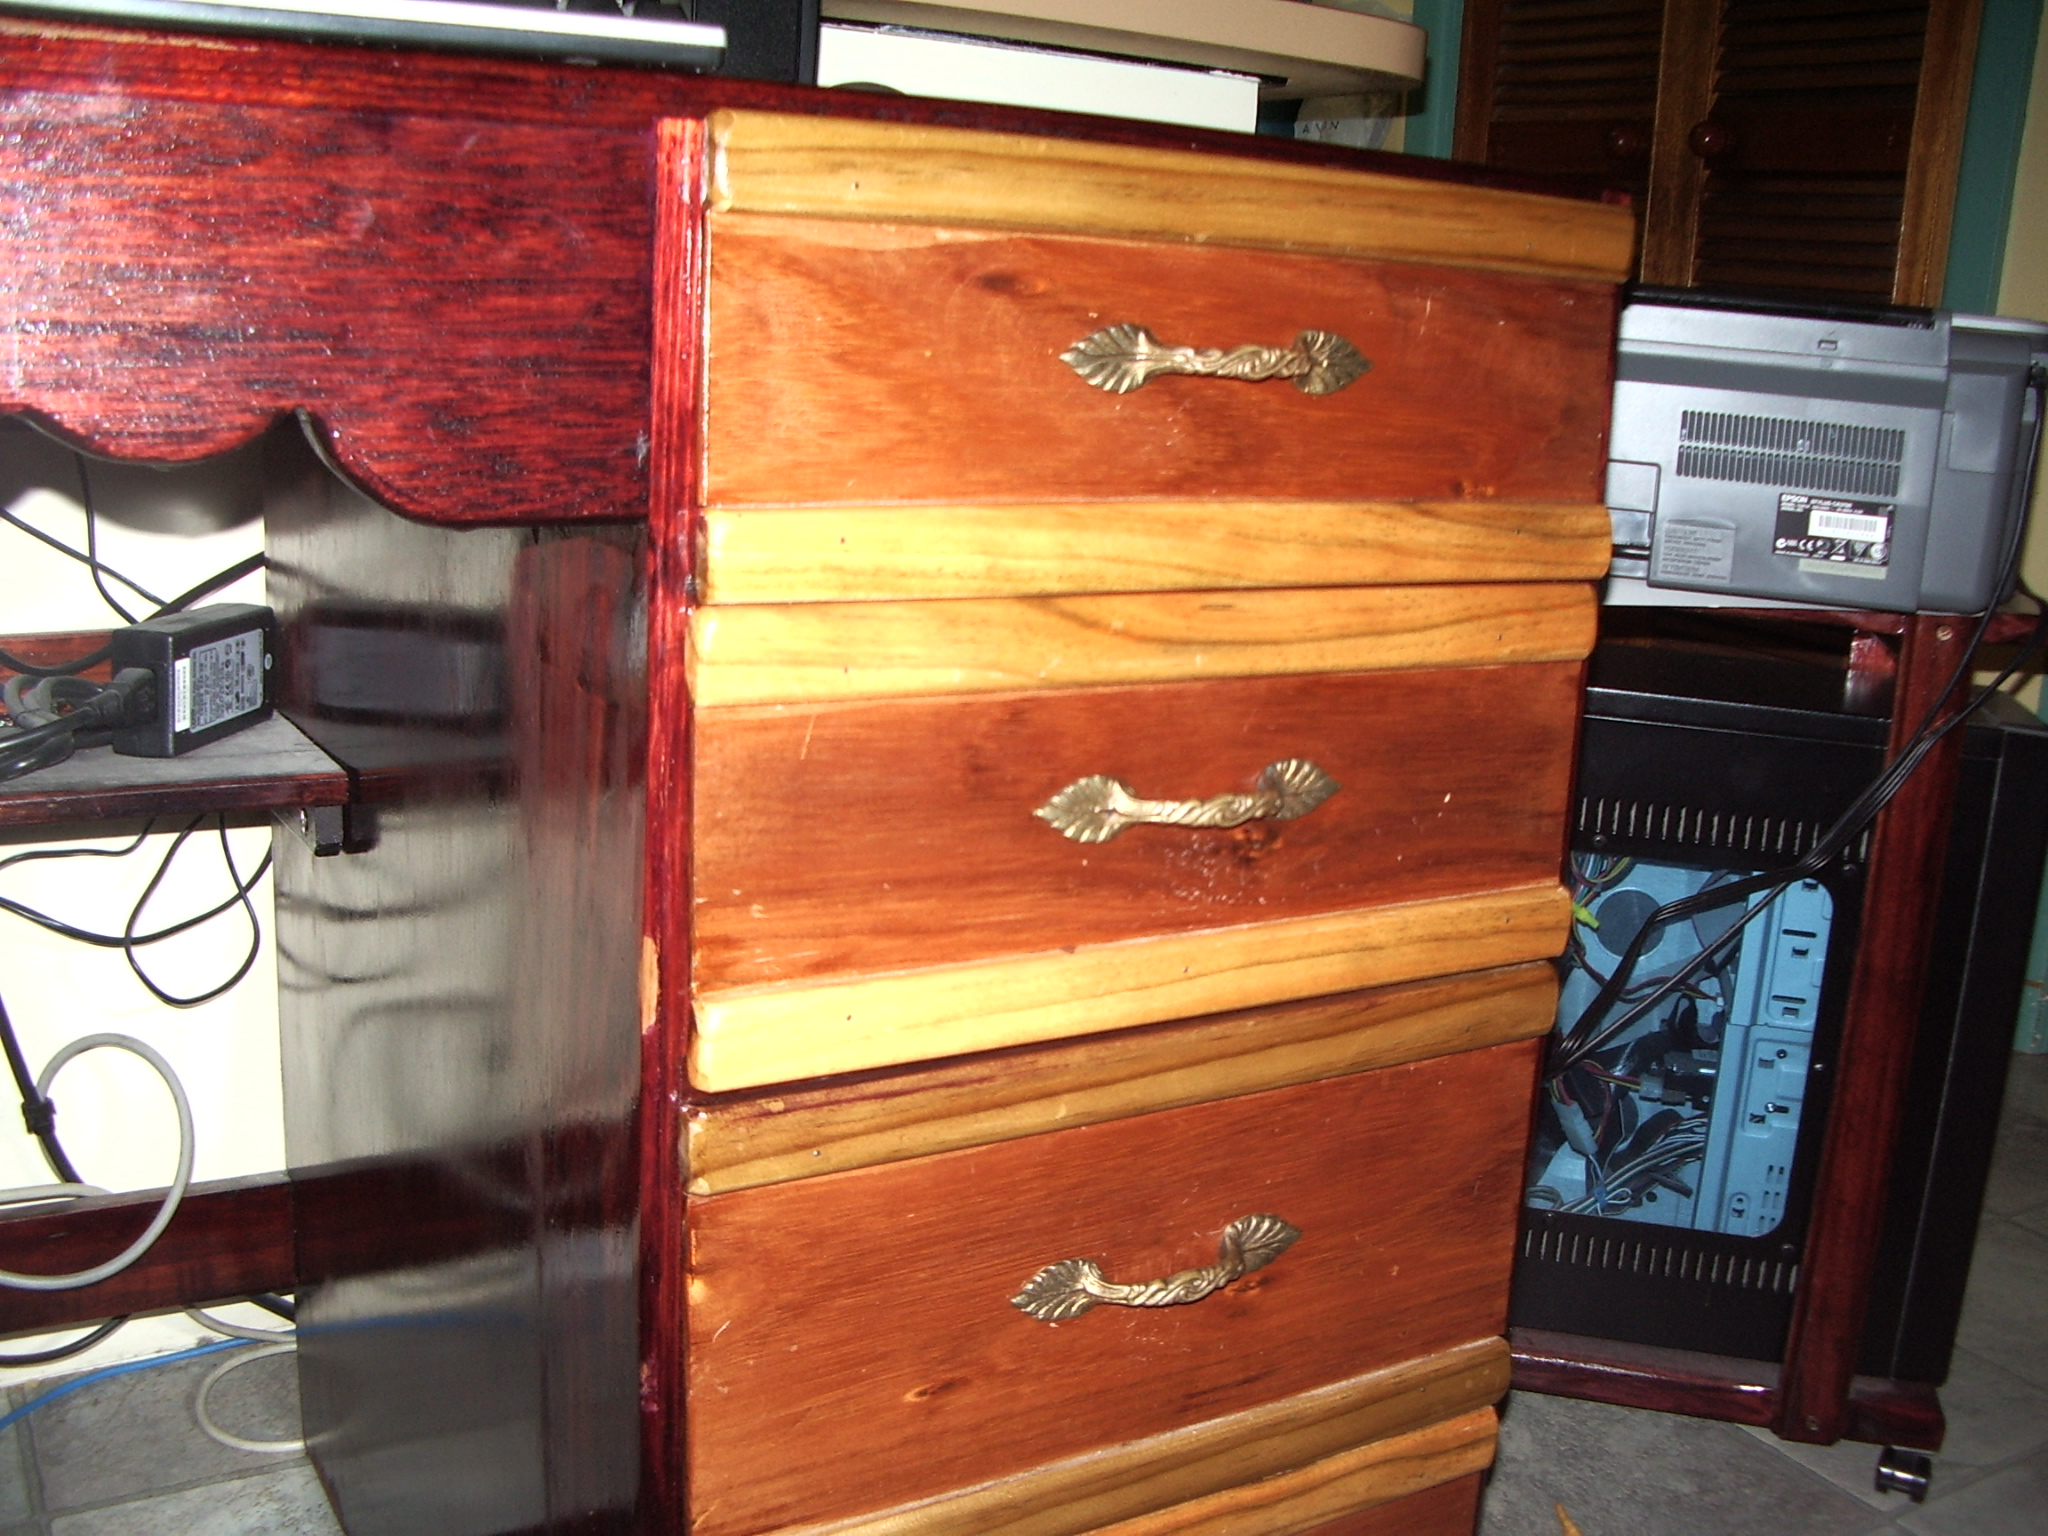
interesting visual contrast. The draw handles are original, I was
astounded to discover that under the years of gunge, old paint and corrosion they
were solid bronze ( not brass ) and assuming you could even obtain them
now they would be prohibitively costly for any new project. They
polished up beautifully.
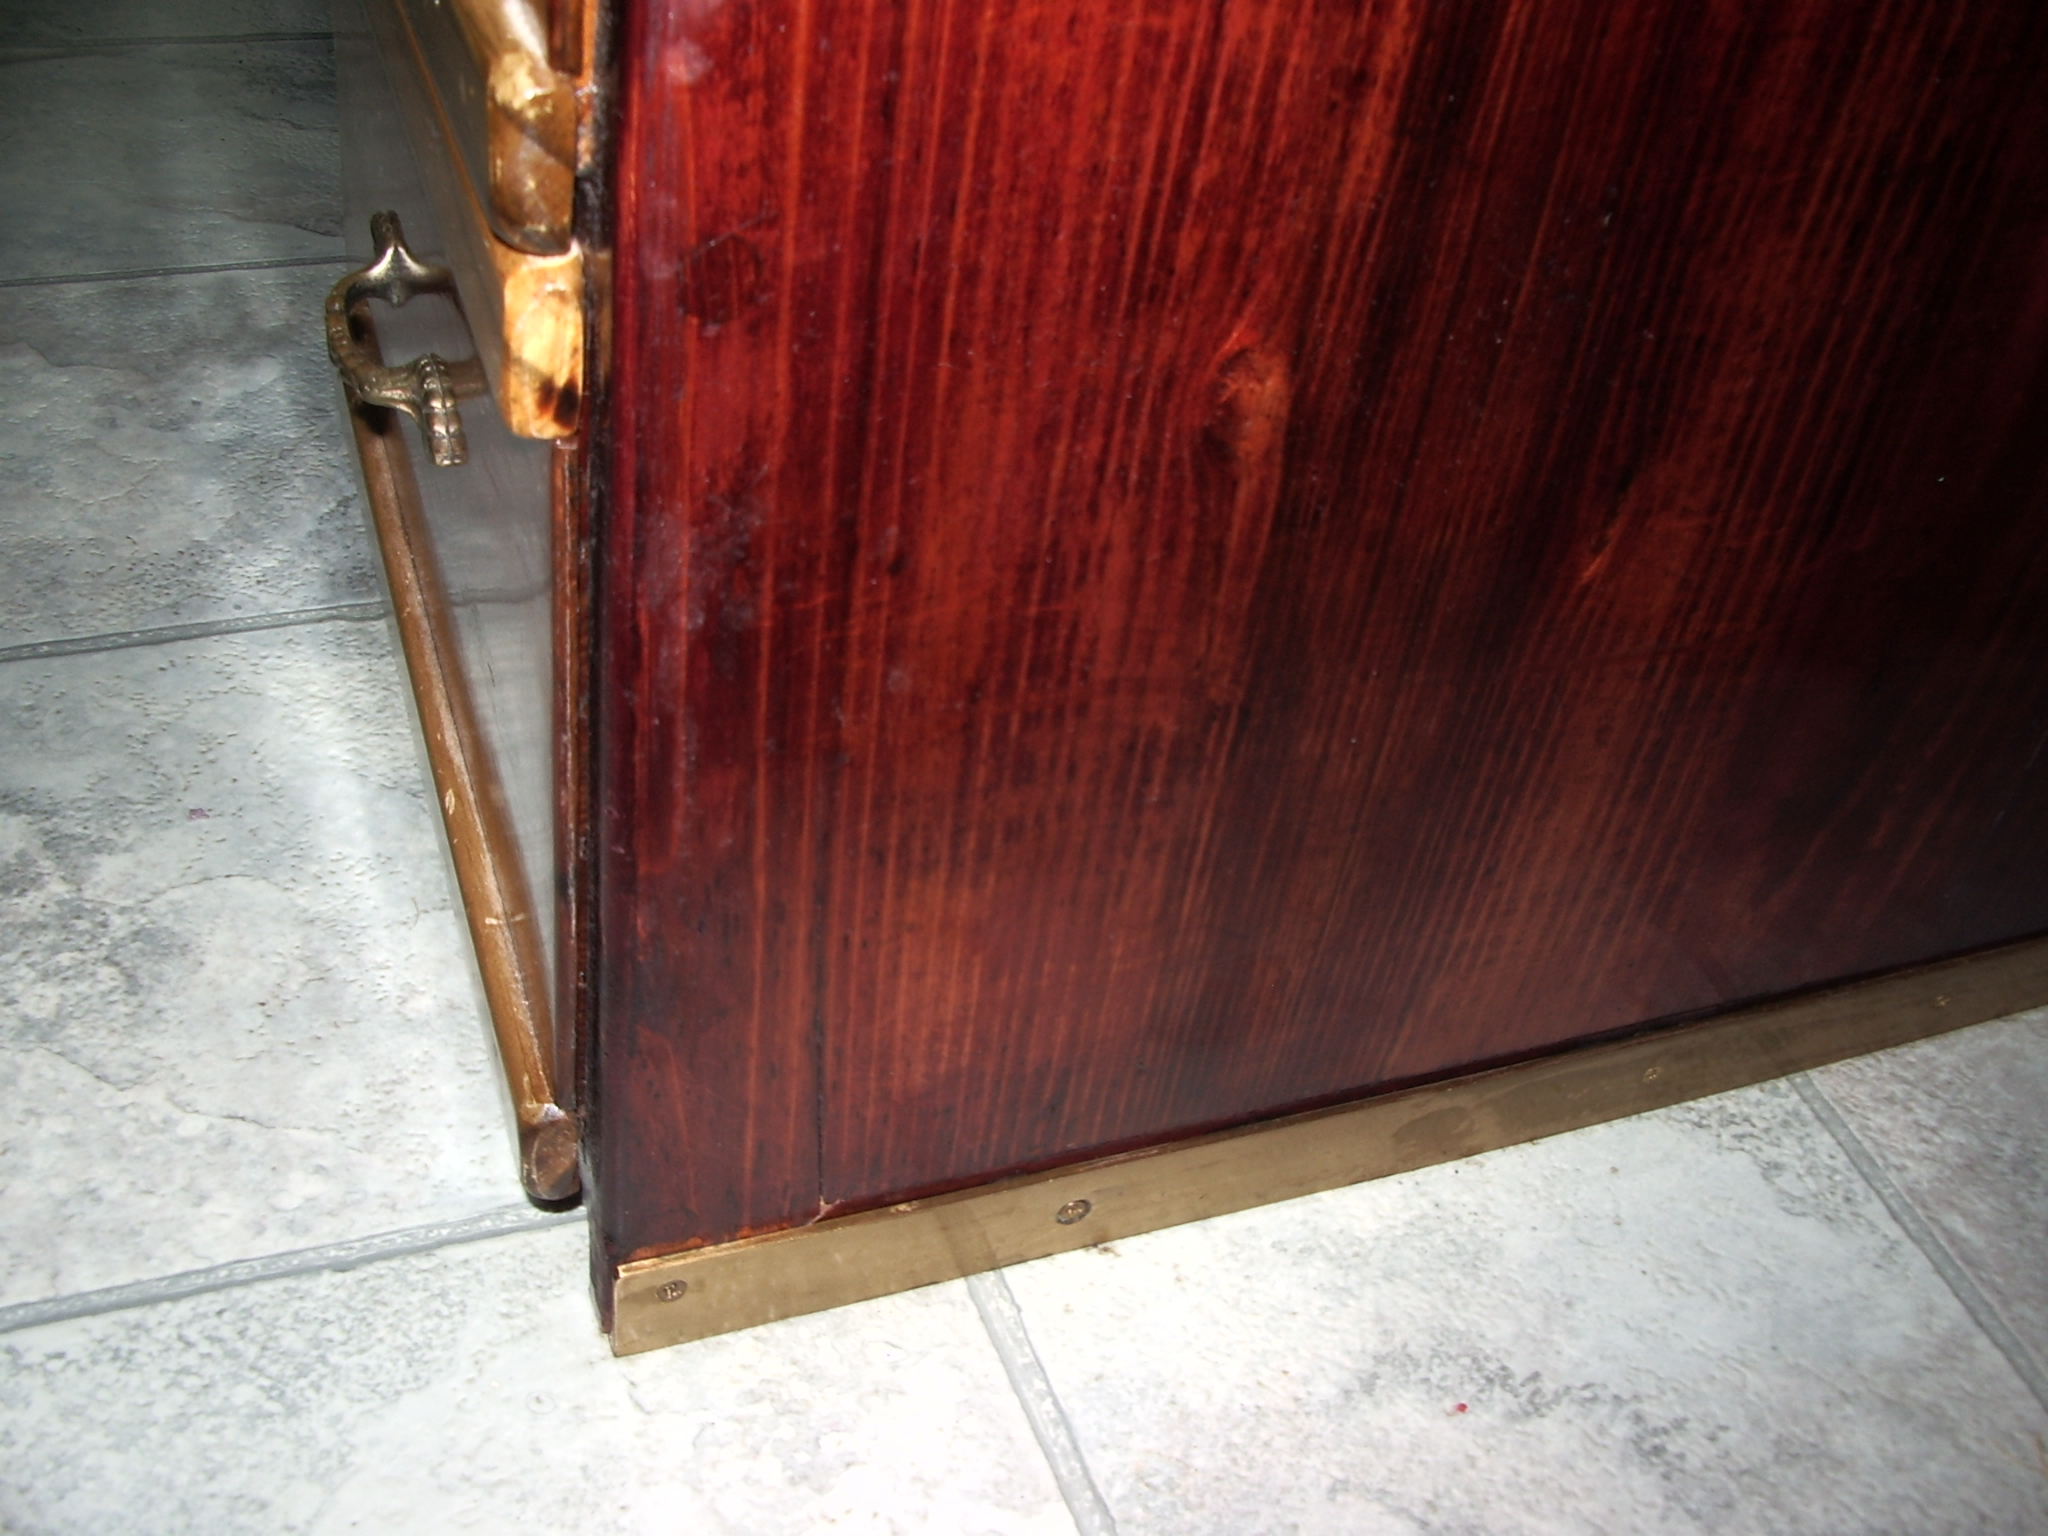
At the bottom floor facing edge, there was splintering and tearing of
the wood were in the past it was dragged over carpet, I added a angled
brass strip here, so now the unit rests on a brass strip and can be
safely dragged over the floor without further risk of splintering. The
brass bar looks good too. I should have rebated the brass angle
stock in, perhaps in 10 years time it it gets to be revarnished,
and by then it will get castors too.
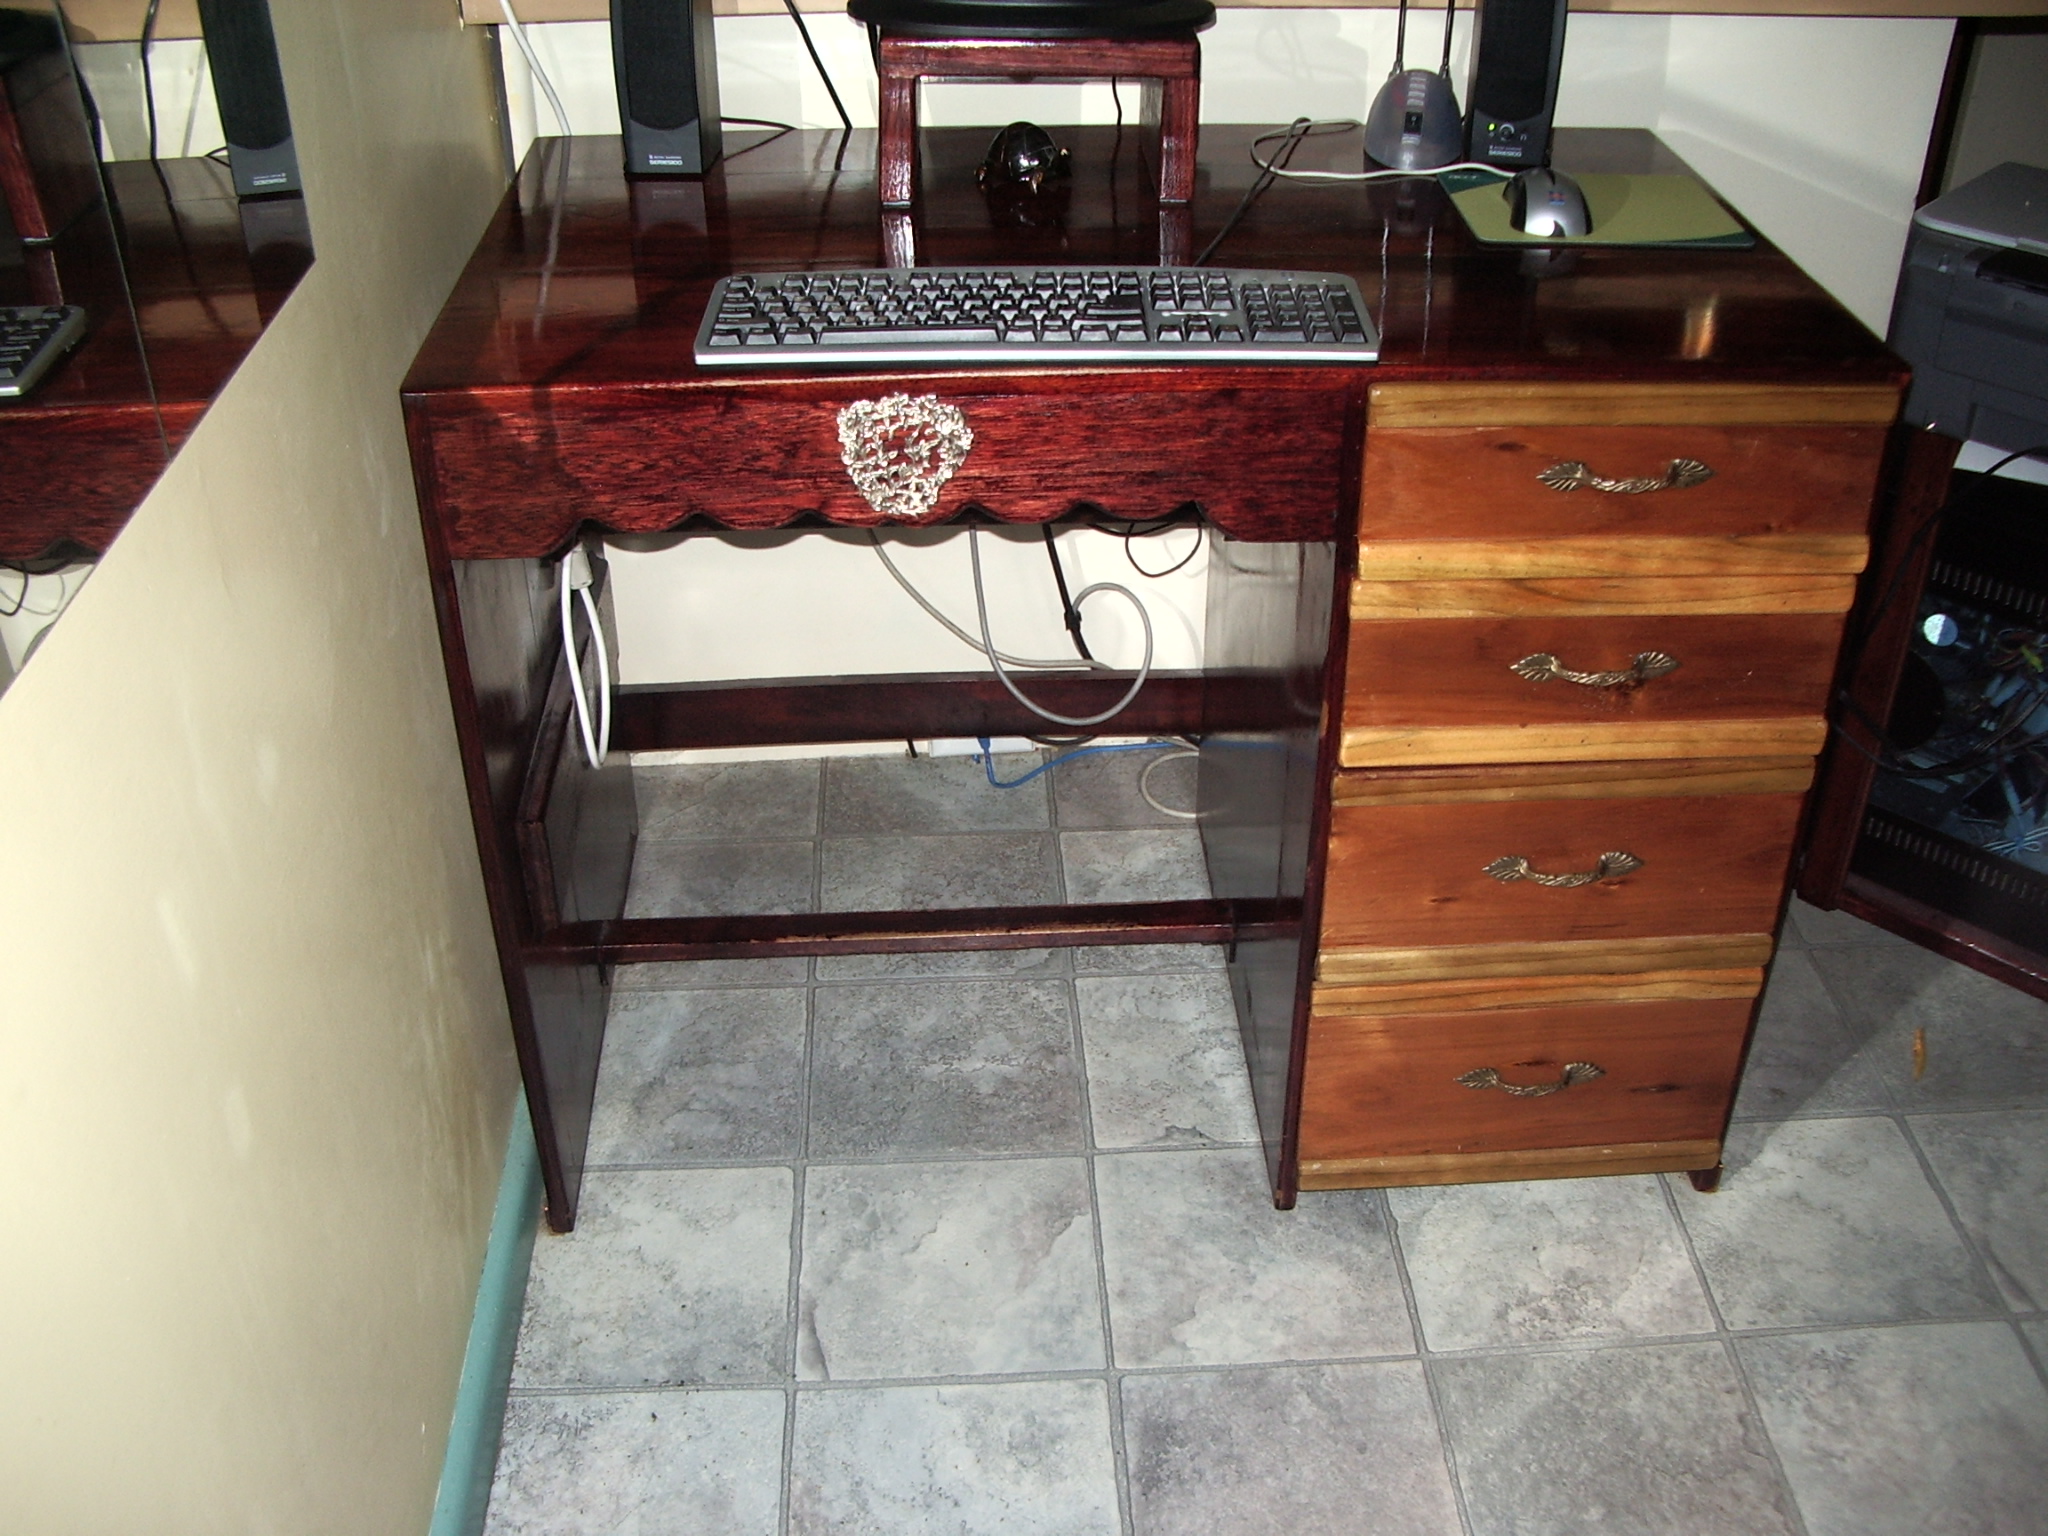
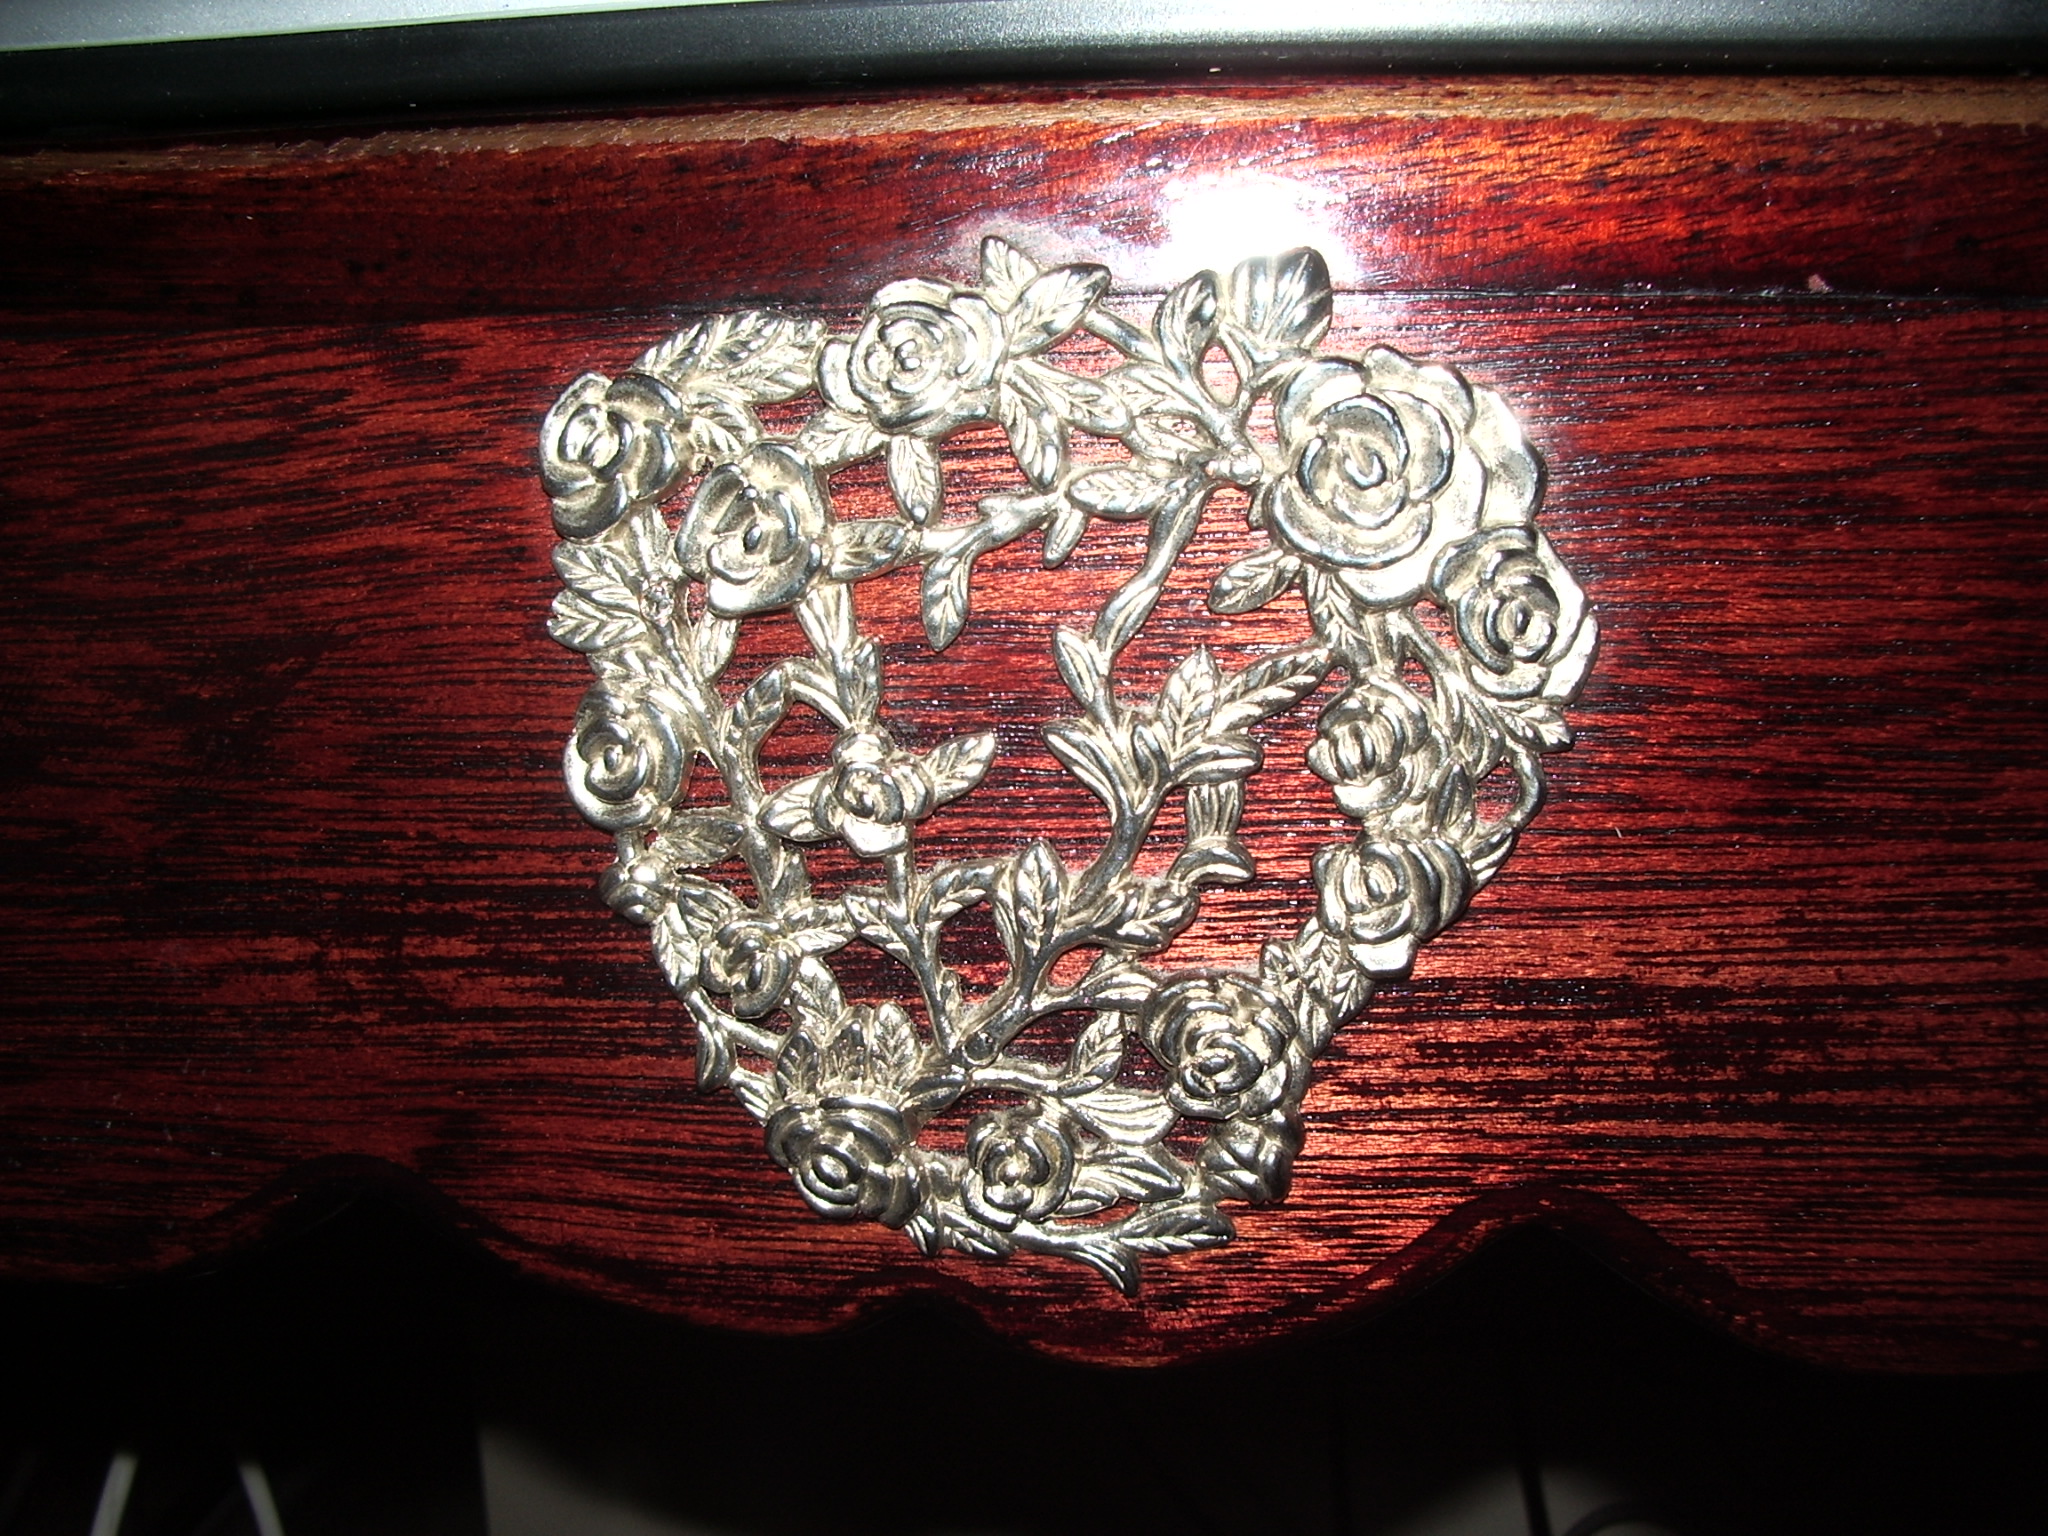
The desk was finished in stained polyurethane varnish and has a piano
grade finish as by my method outlined elsewhere. The metallic
decoration in the front board is a silver plated brass tea pot stand!
that I embedded into the wood. She-who-must-be-obeyed decrees that I
put it in the wrong way round. Go figure.
One question that I still ask myself is; could I, instead of
effectively rebiulding the desk to remove the crack, could I have
hidden it with an inlaid strip ?
In retrospect I should have tried
this approach. Would it have been as effective a remedy ? Inlay is hard
and I did not have any similar material on hand. I have never tried the
art of inlay on a real furniture piece.
Somehow I felt on completing this project that a ghost was exorcised, its
perplexed builder now rests a little easier.
 |
|
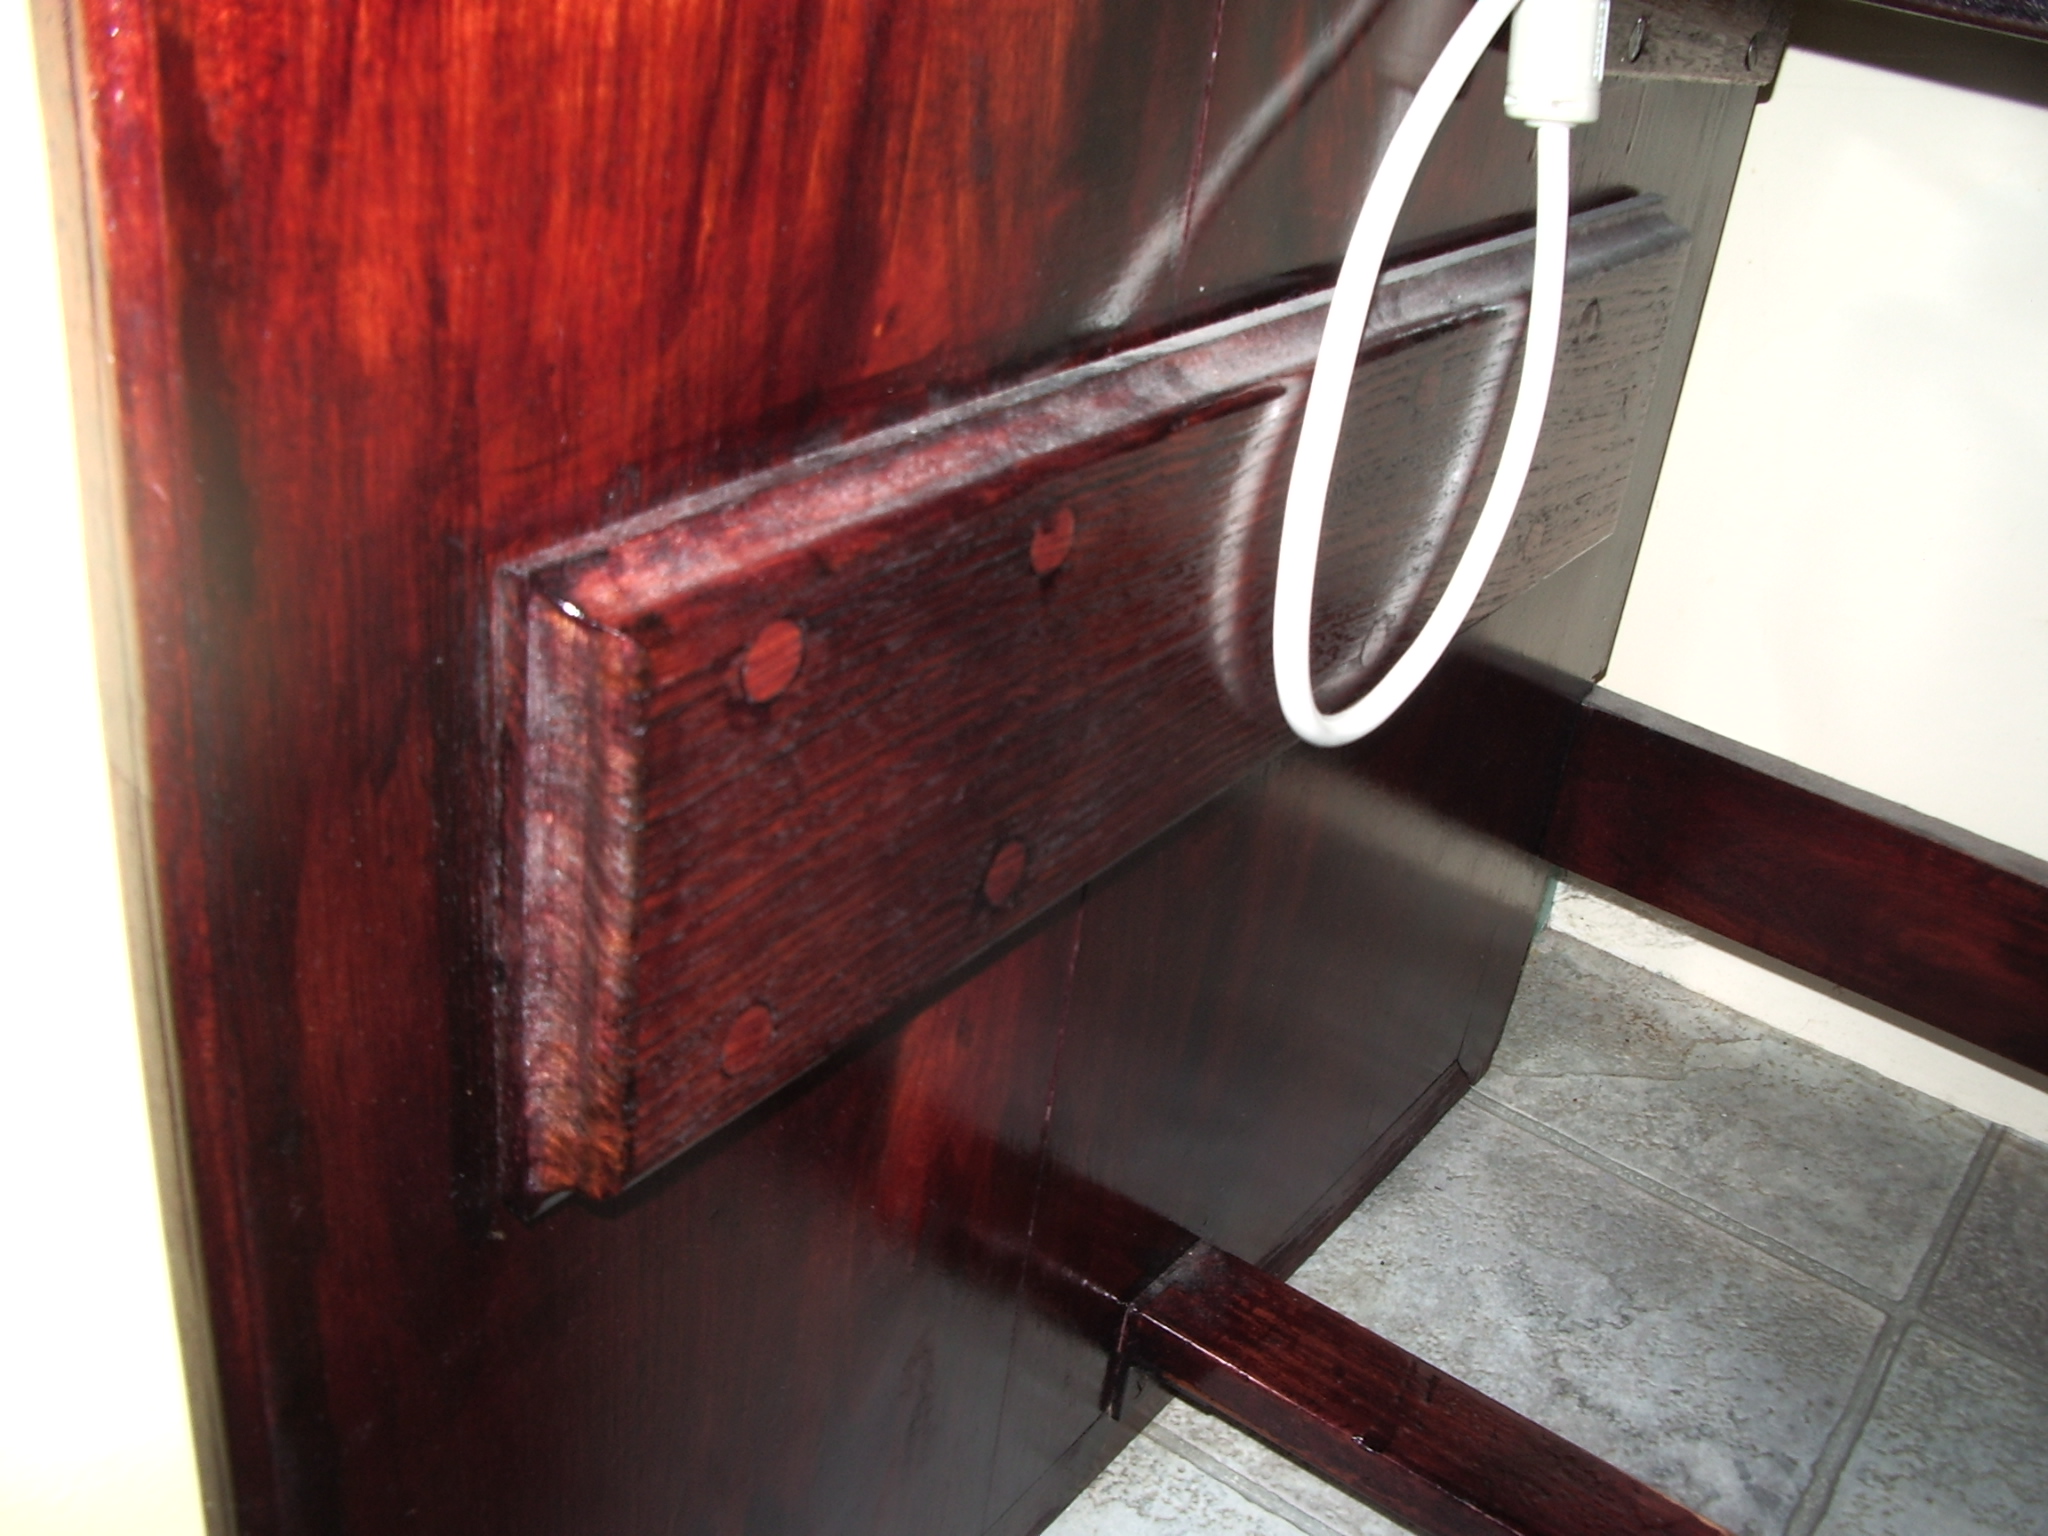
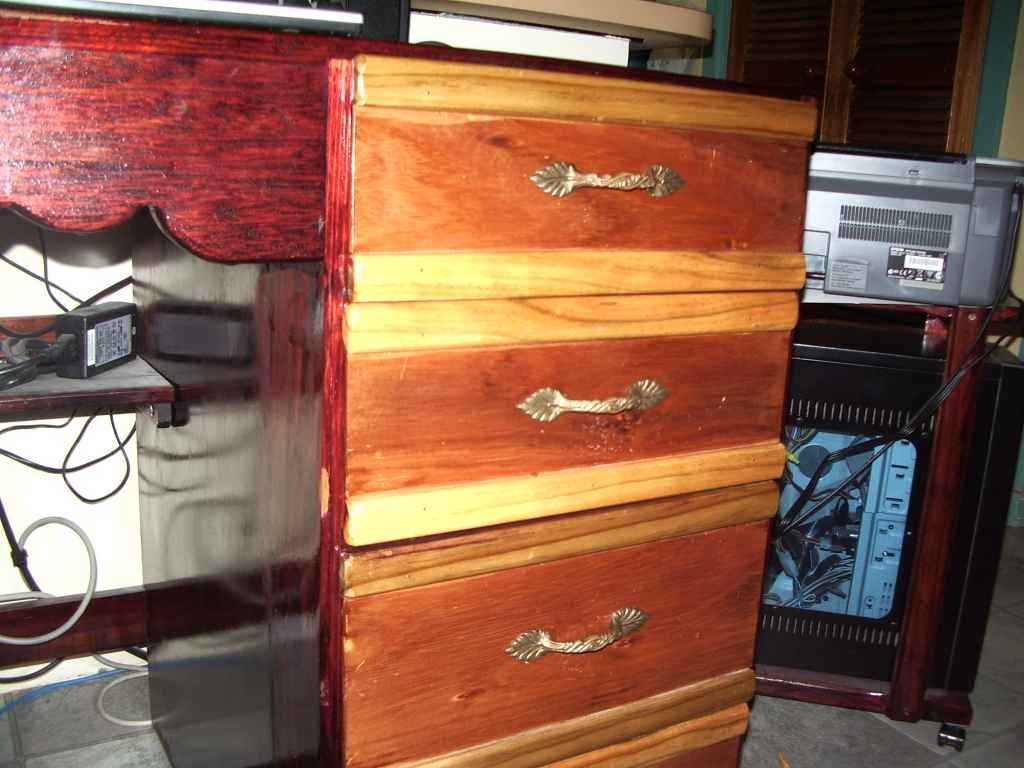
visible here is the back kickboard. The little shelf at the back does
not appear to be part of the original design but must have been placed
there later by the builder because the wood stock is the same as the
table top. The draw laminate was badly damaged on the horizontal edges.
I routed them off and fitted these treated pine sticks to make good. I
dont know what the laminate wood is but it was probably costly. The
bronze handles were hiding under a thick layer of old paint and gunge. |
 |
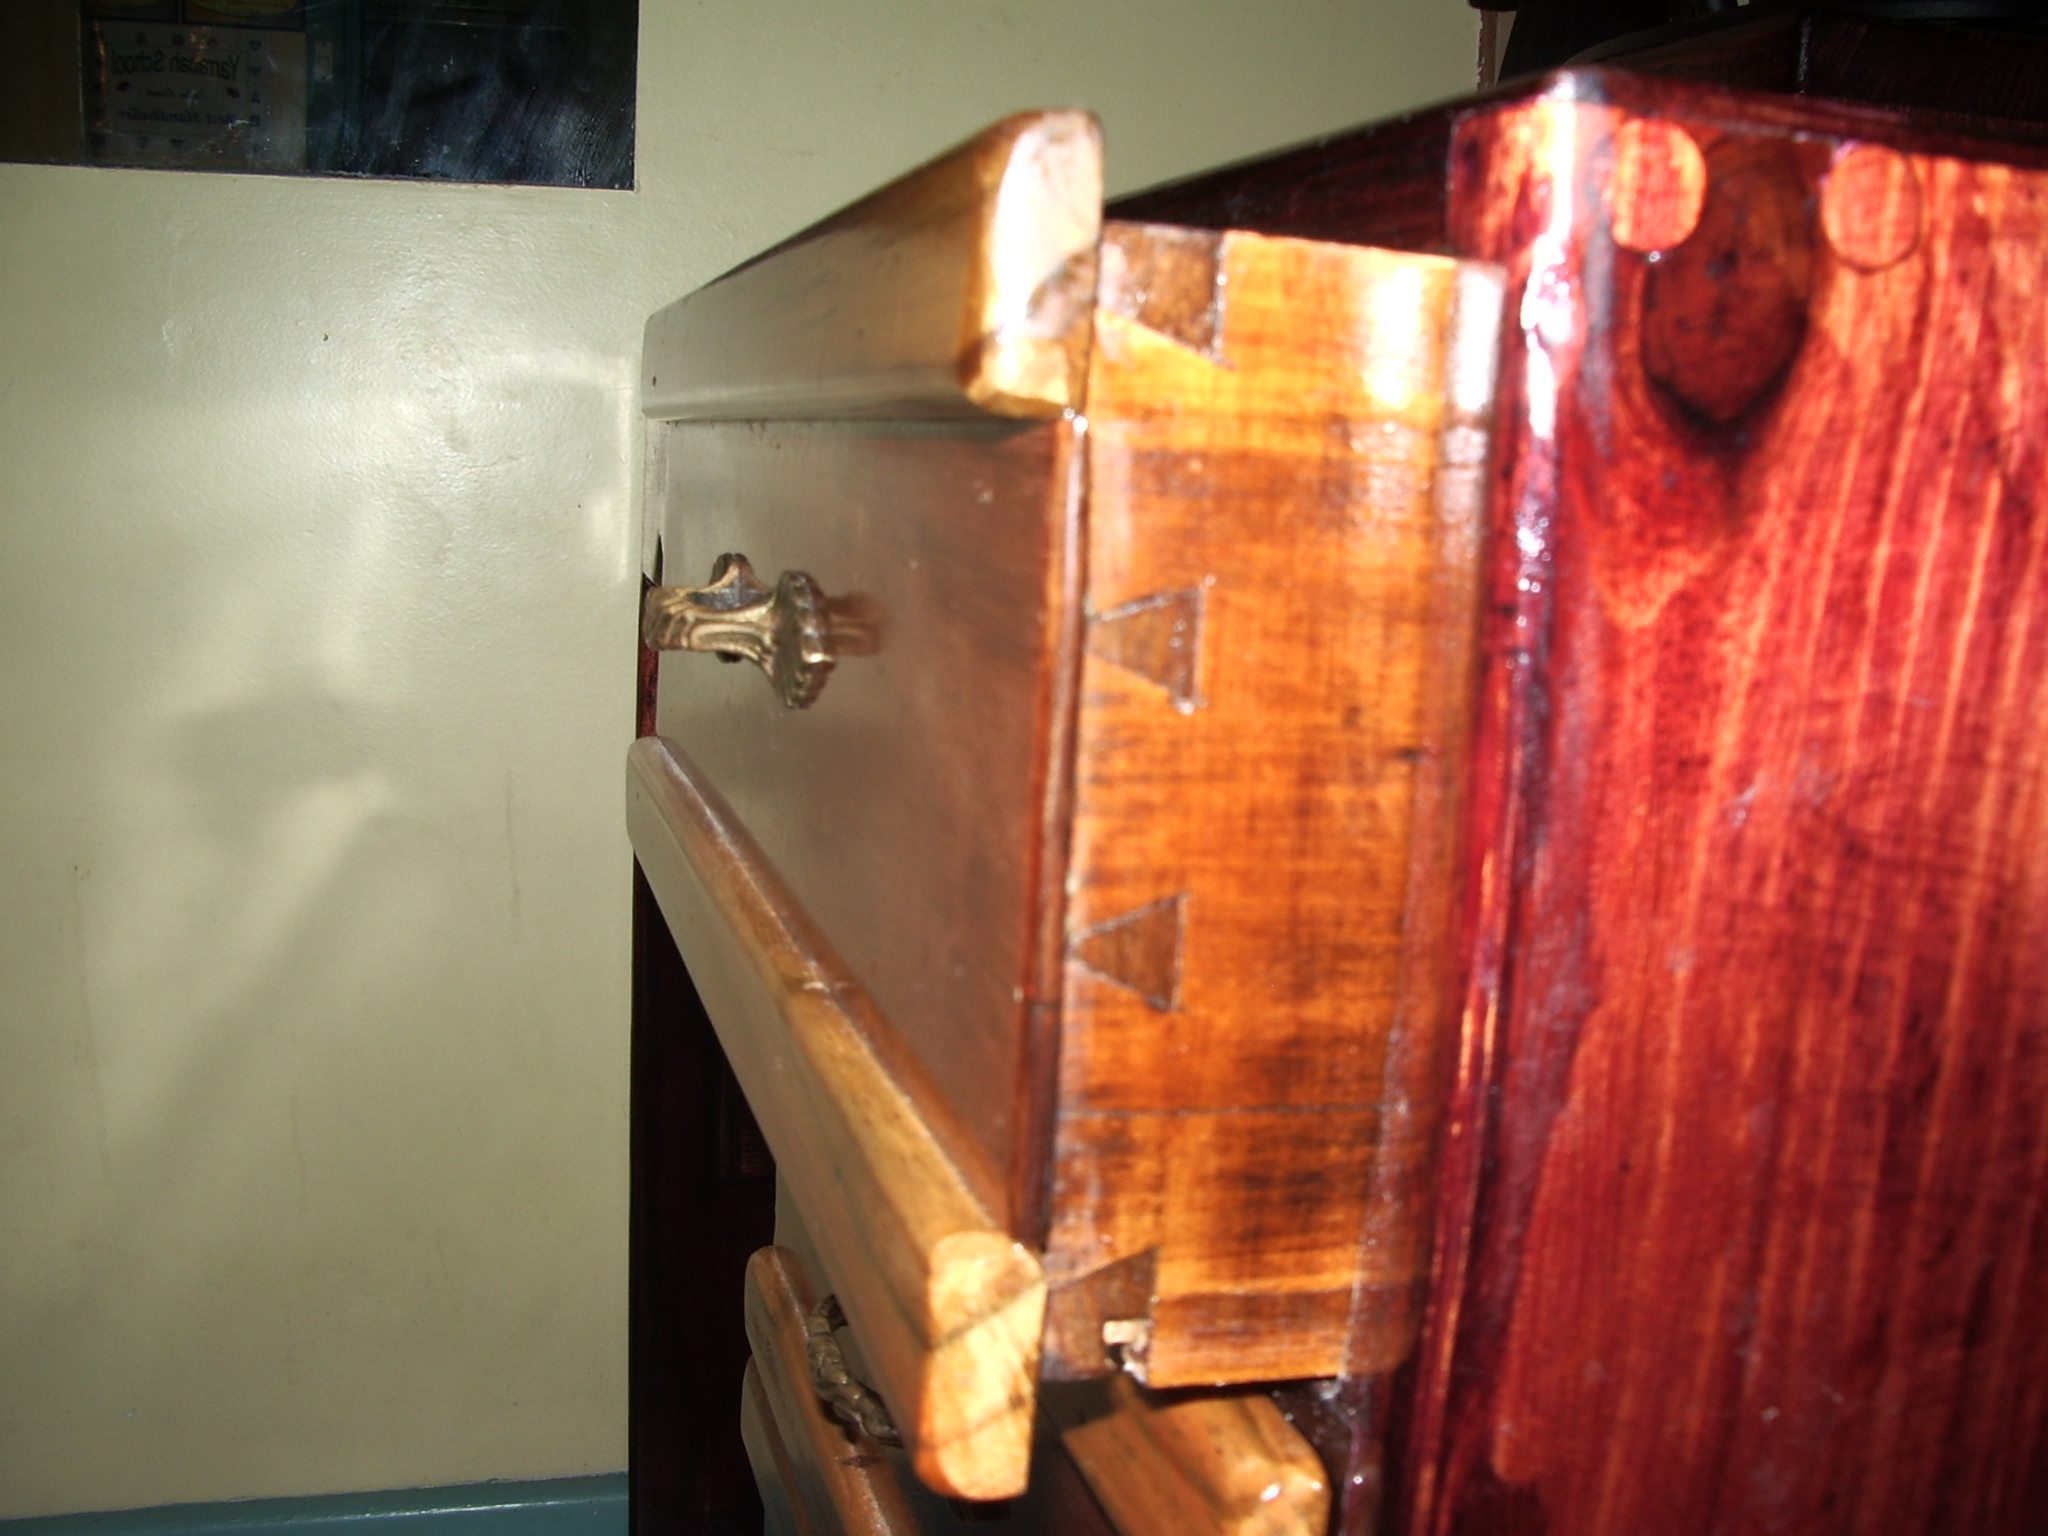
| The front ornament. Originally
a brass teapot stand! There is a secret shelf behind this panel. |
 | 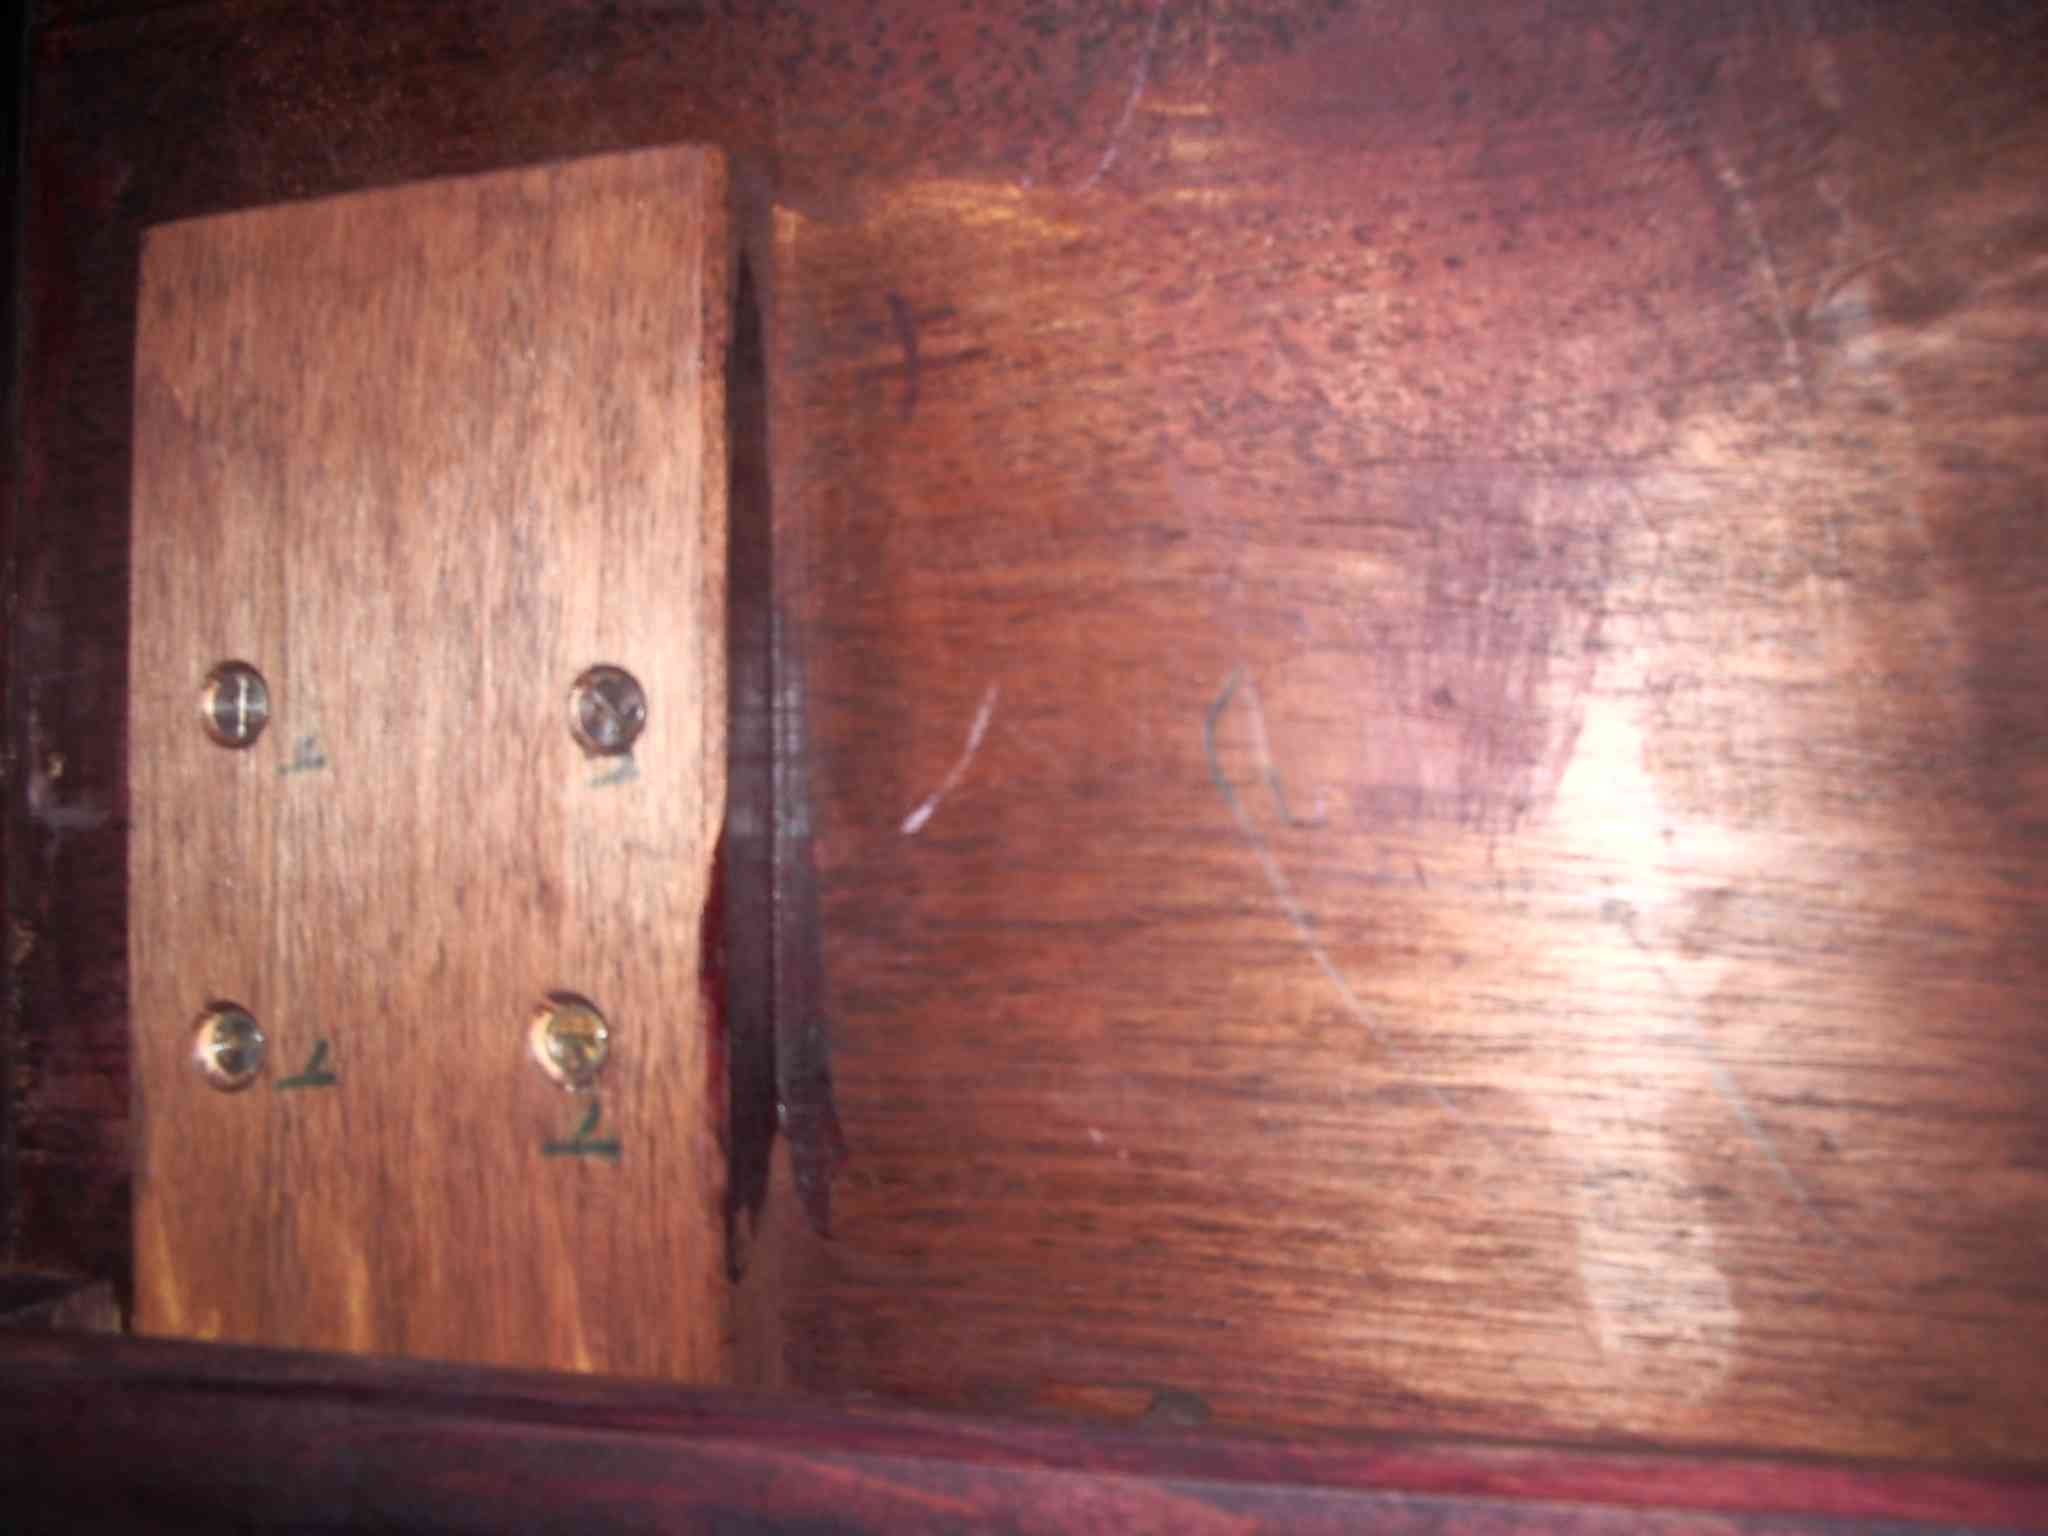 |
| Side panel bracing. This was to arrest a split . | Table top bracing to arrest further bowing |
 |  |
|
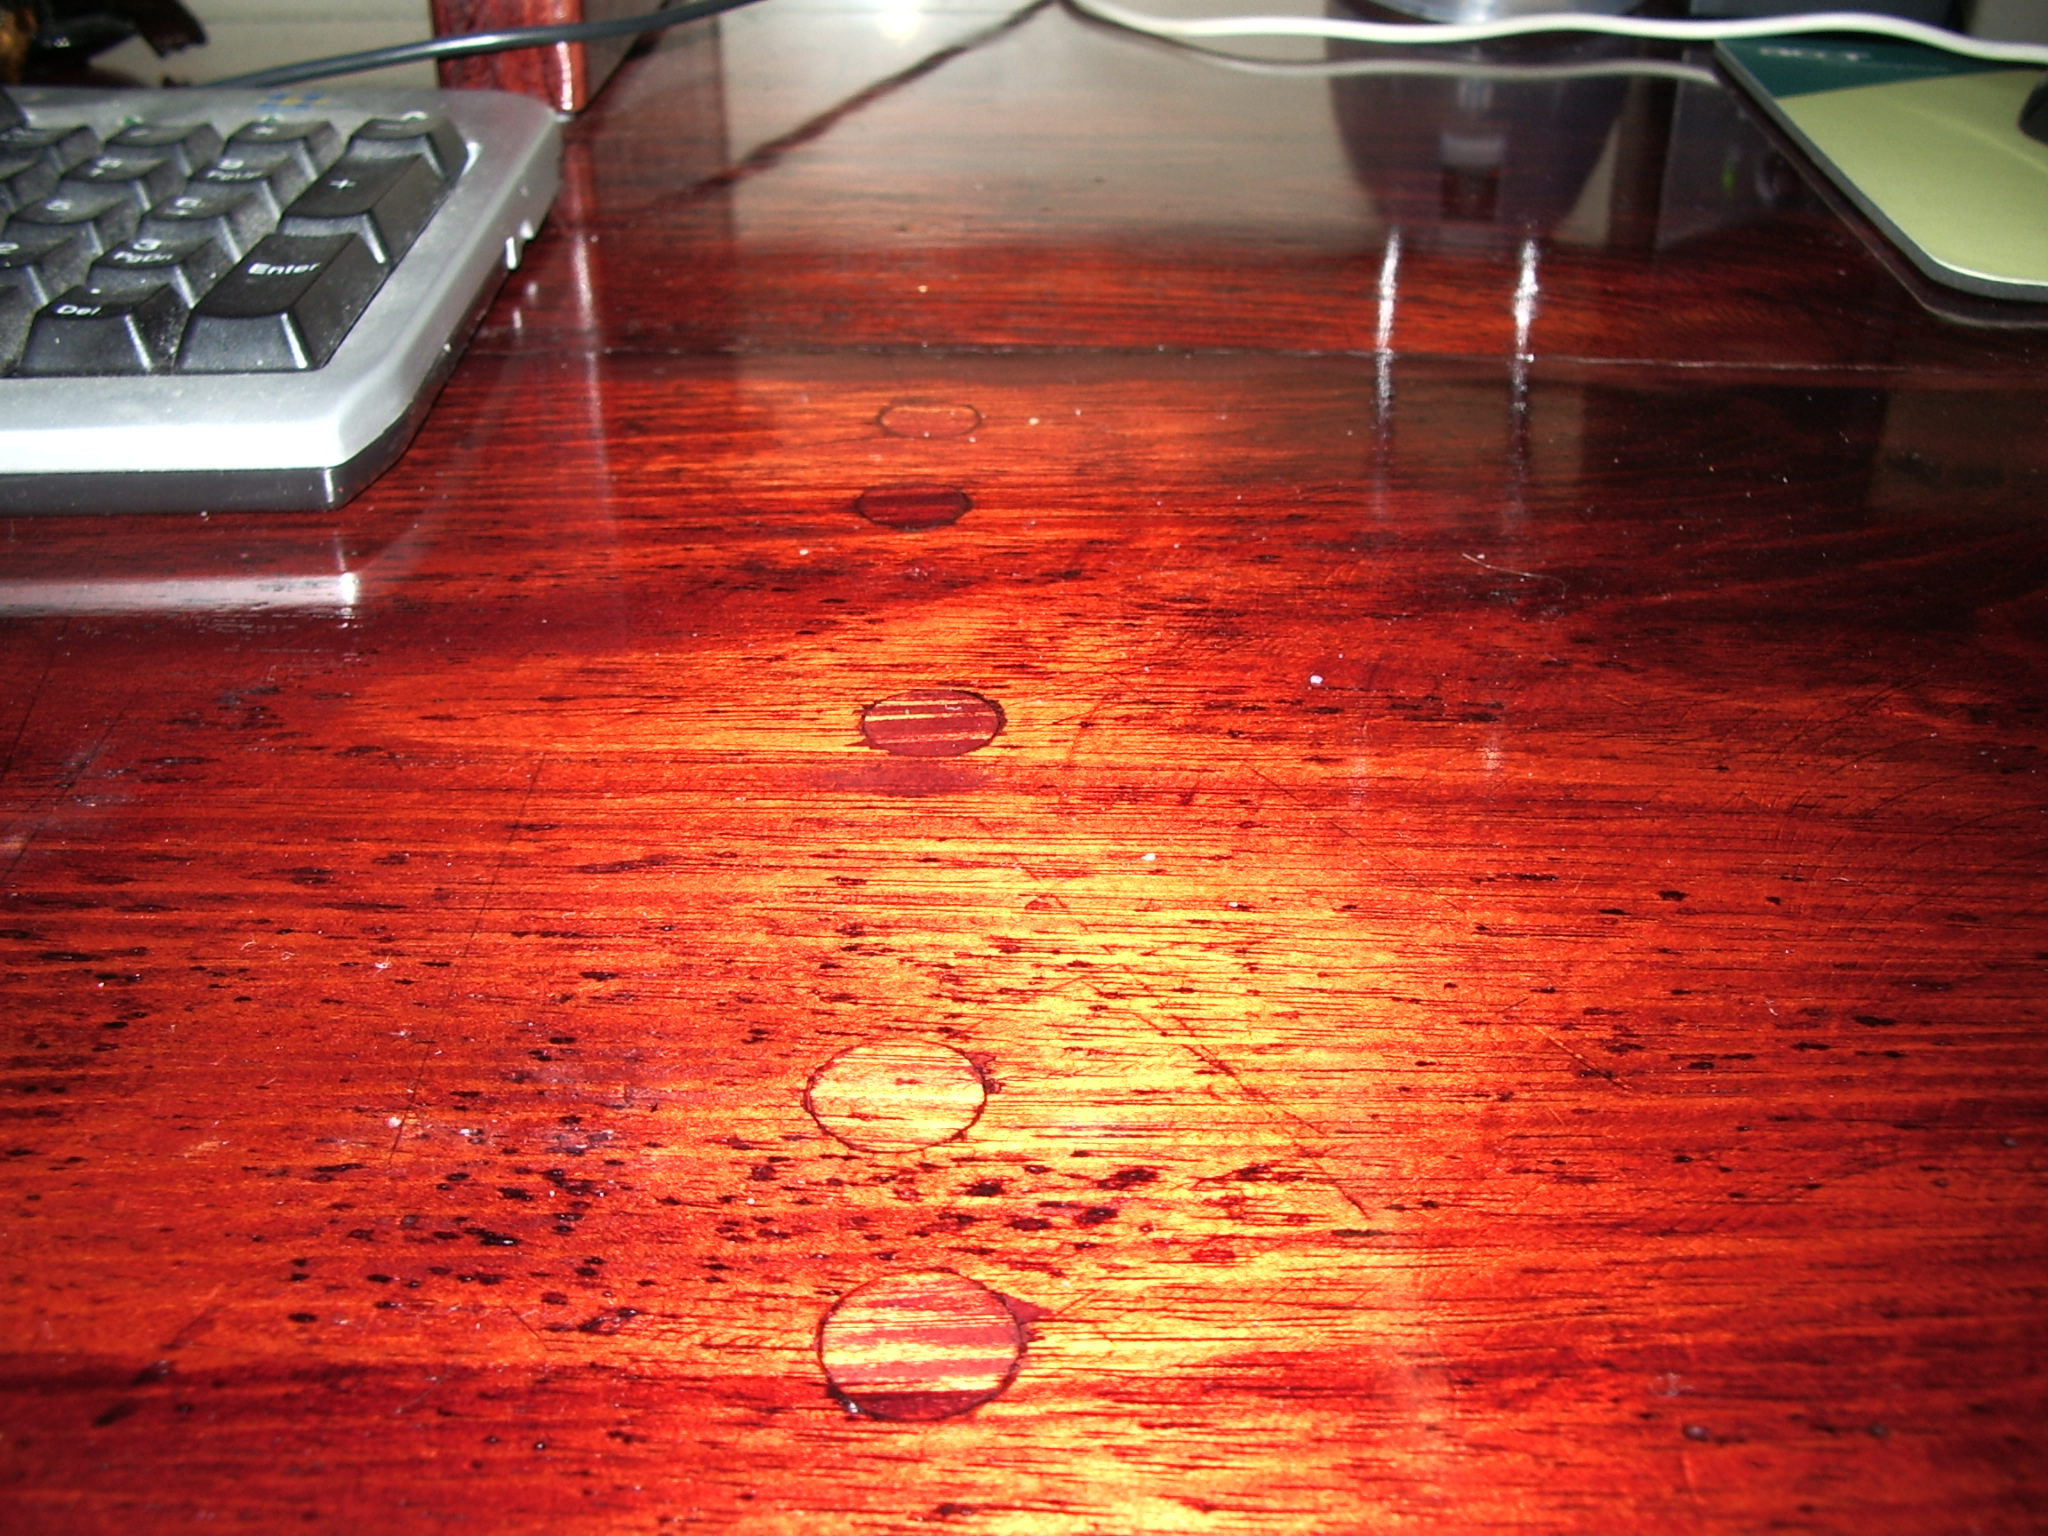
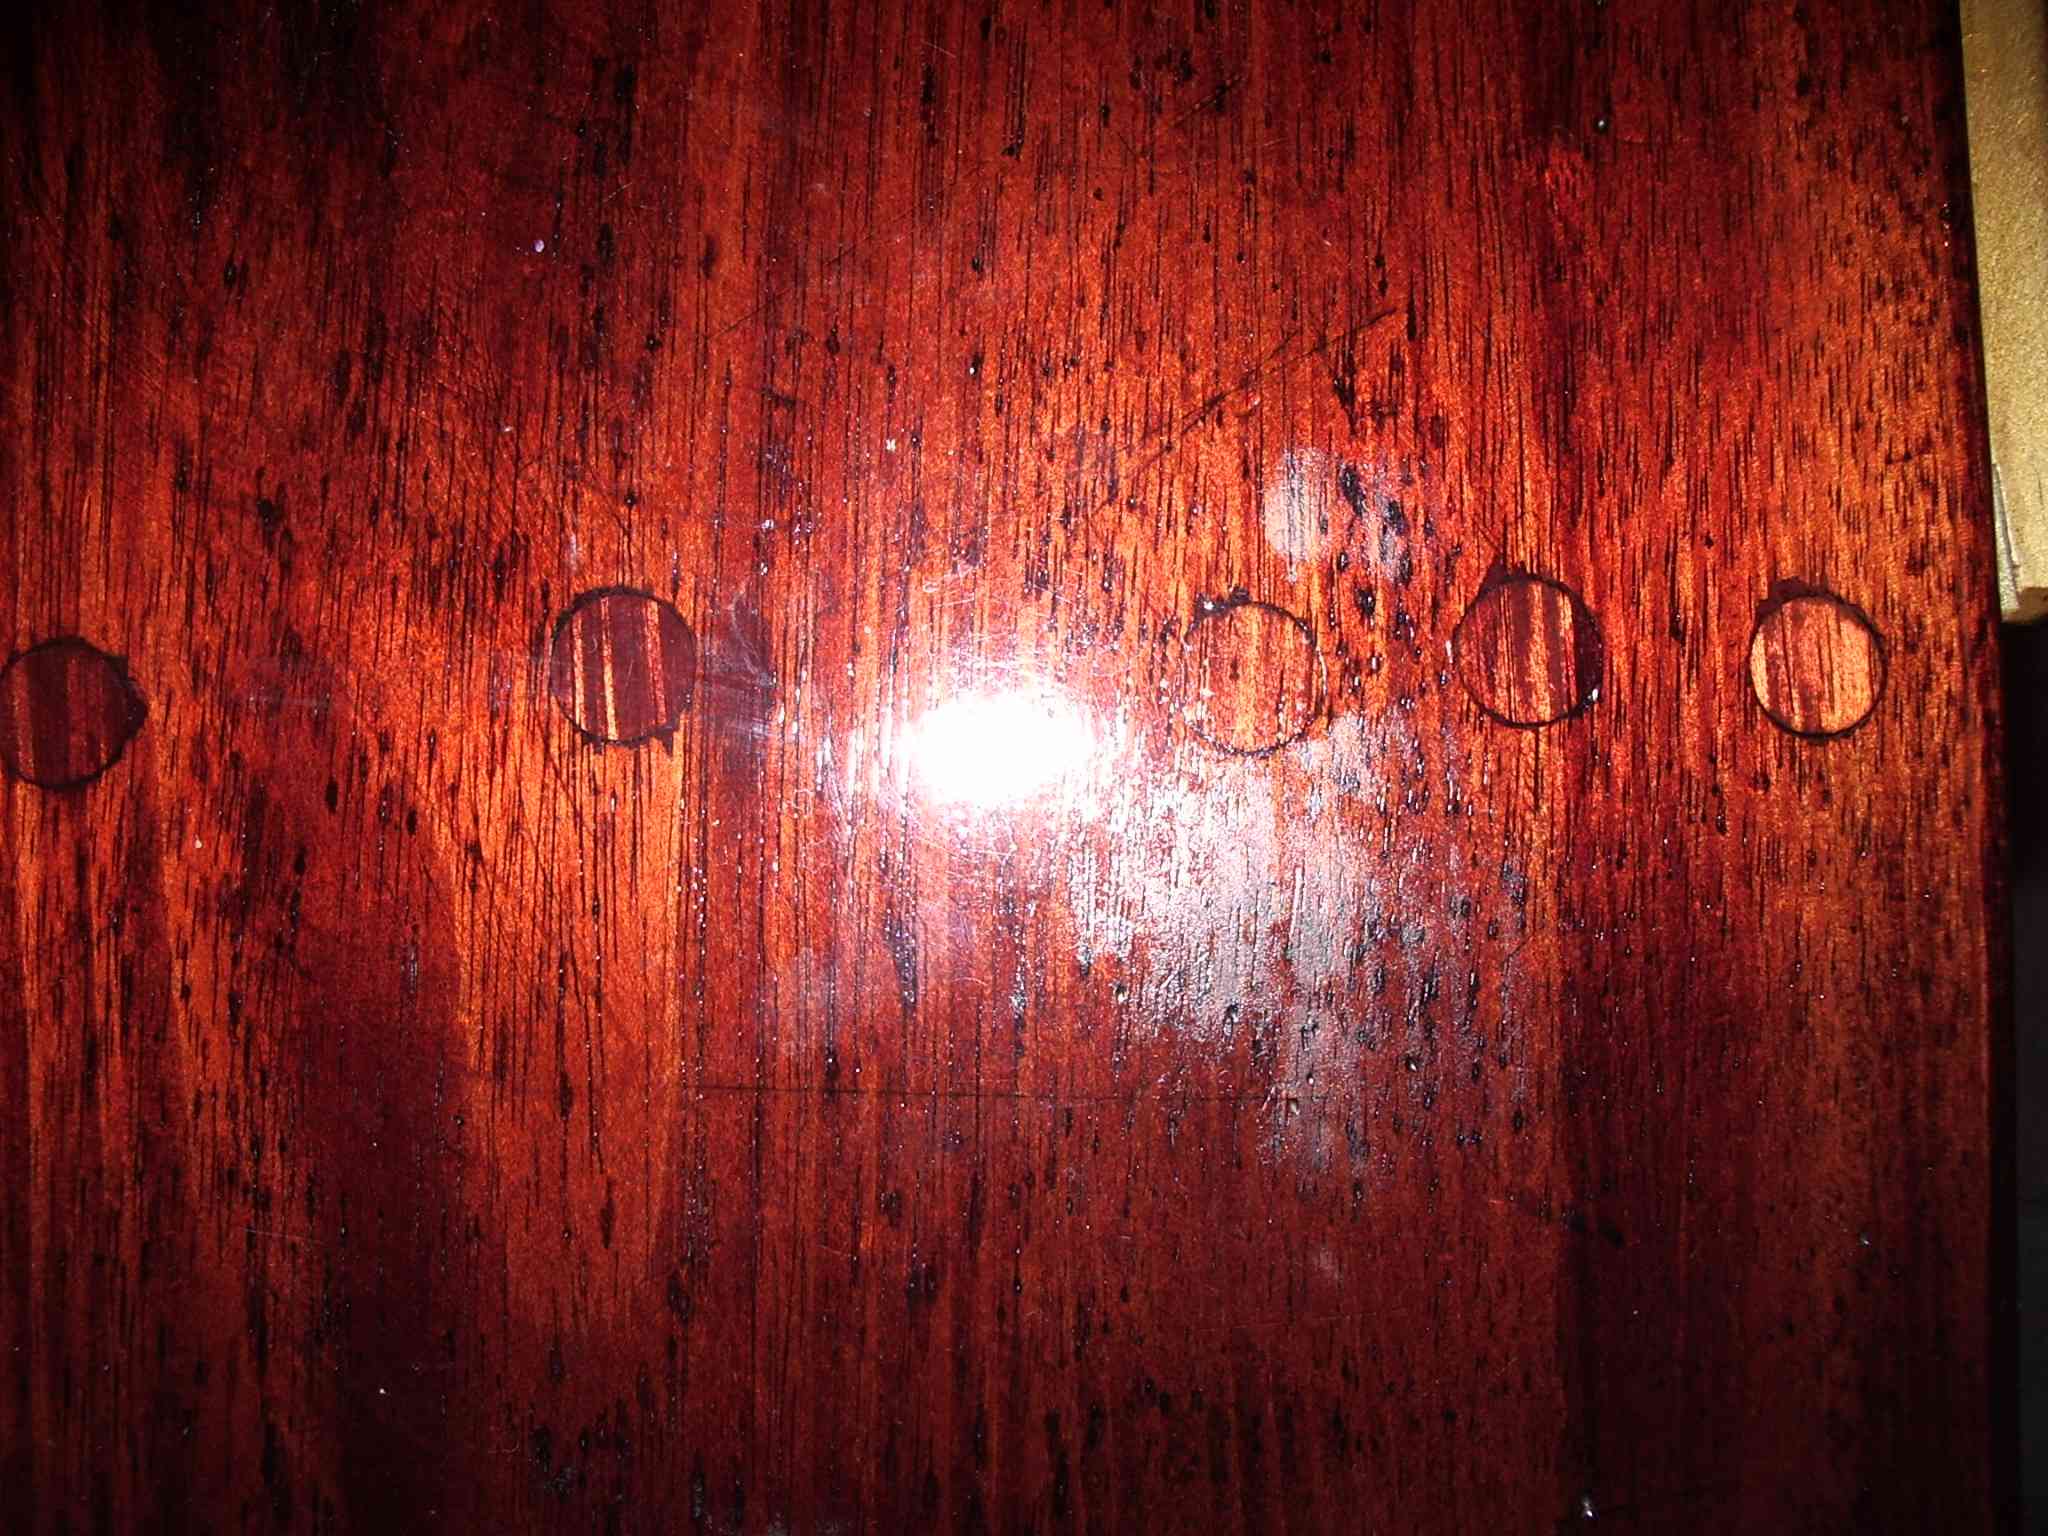
My sorry attempt at hiding screw holes. | The
table top gap has been closed |
 |  |
|
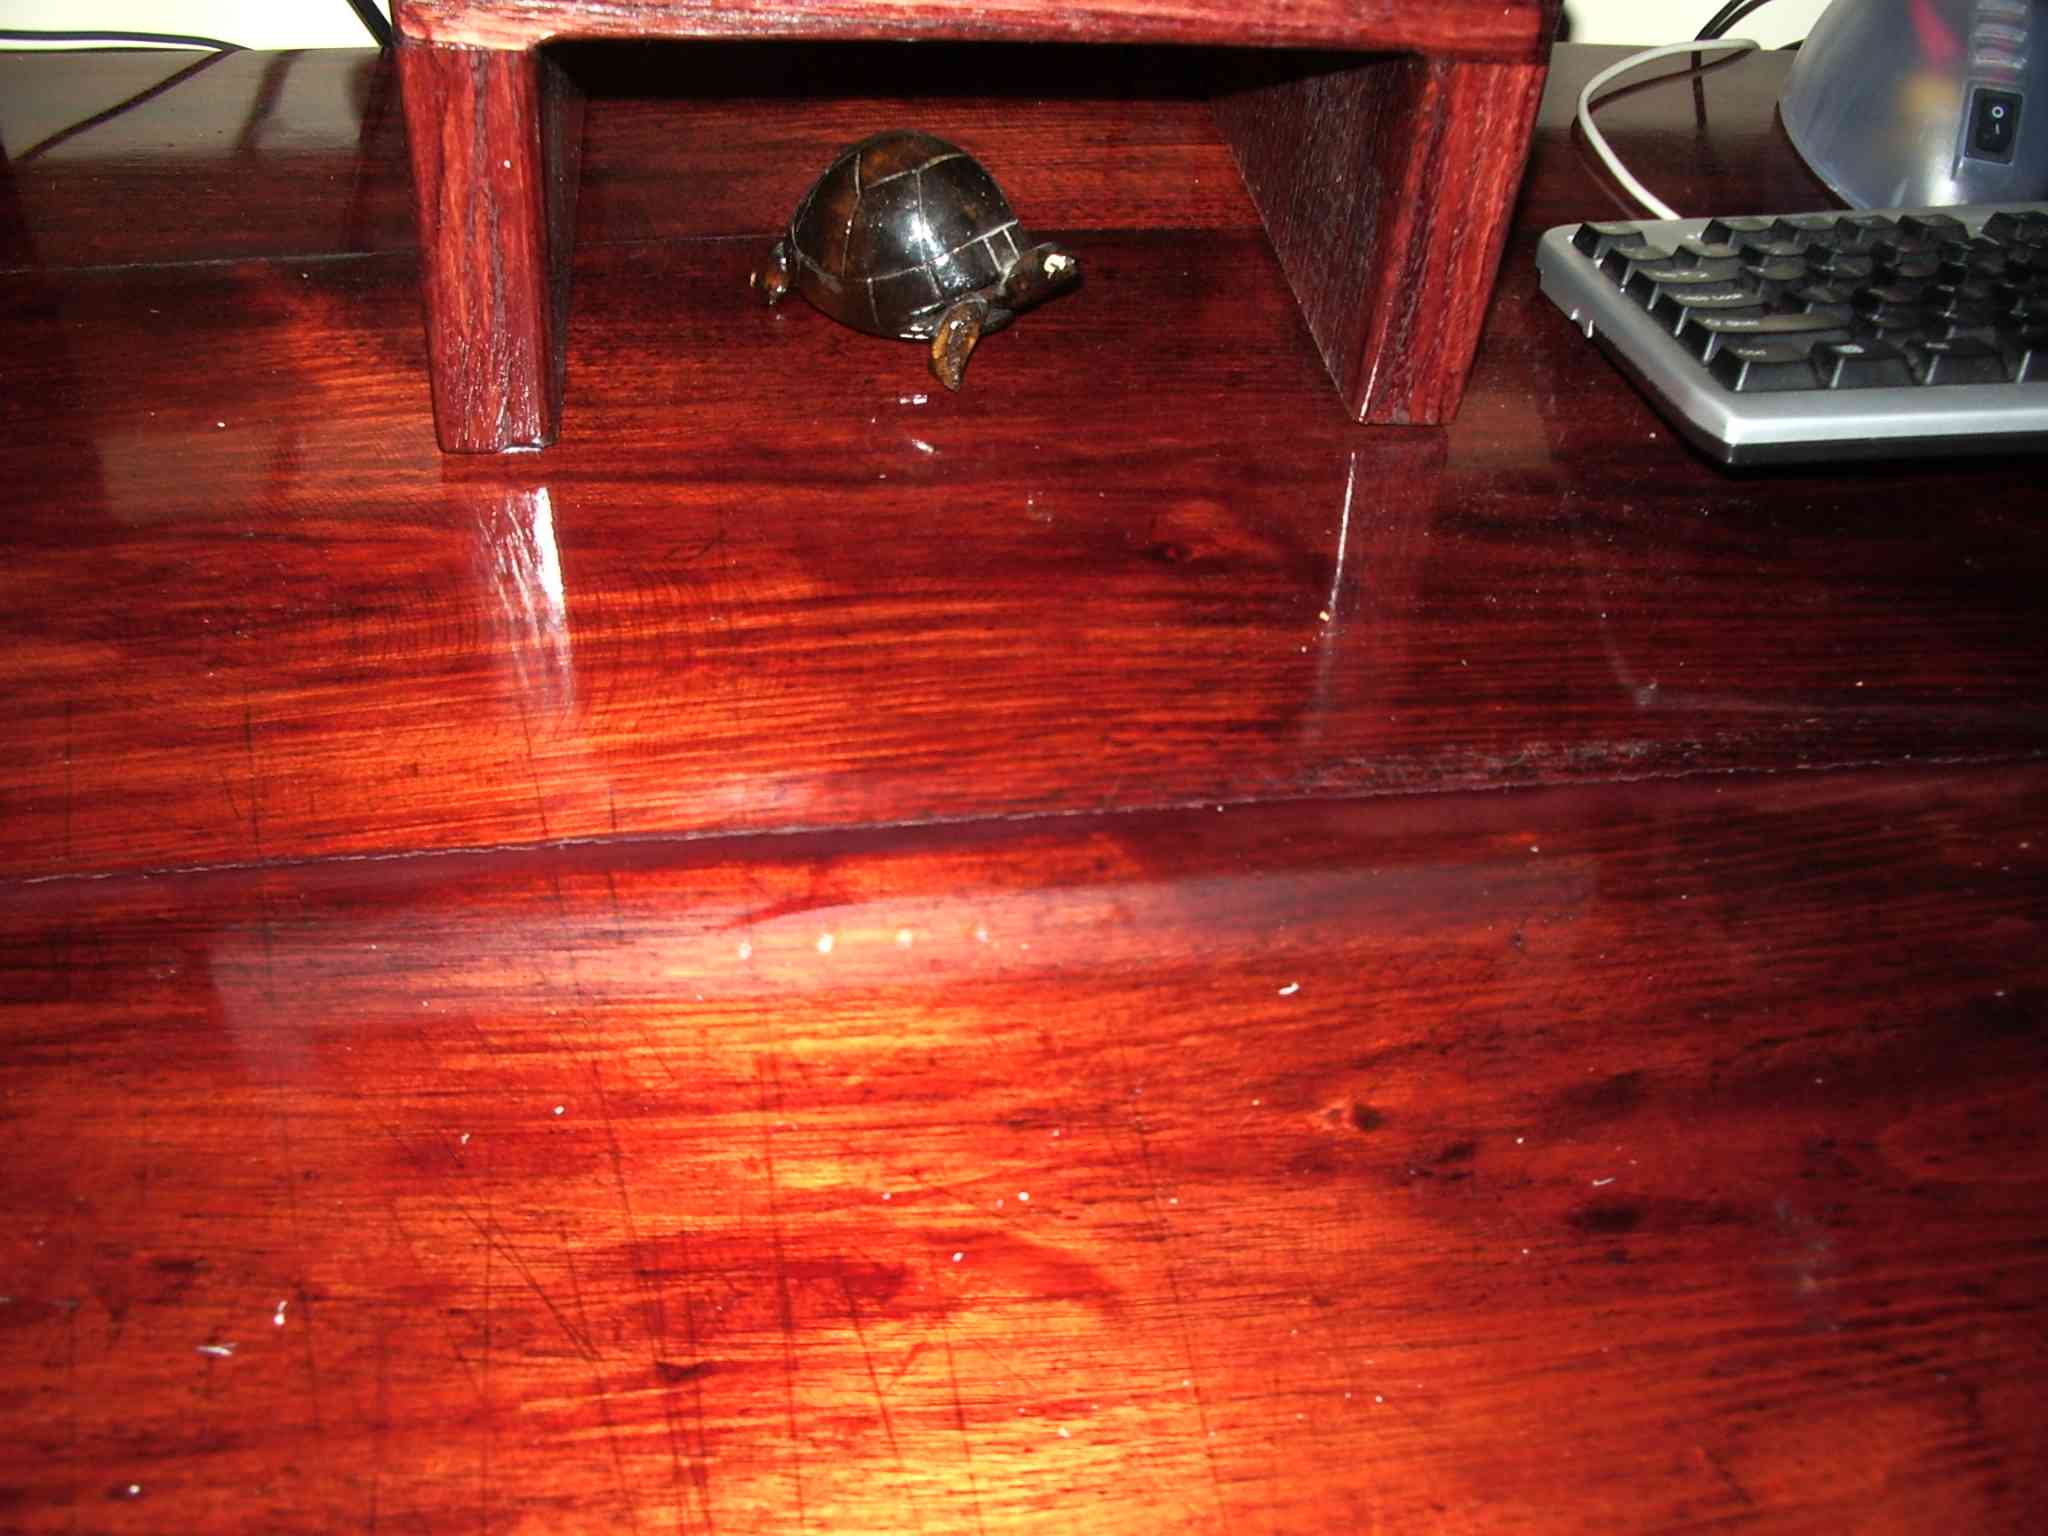
Deep scratches earned from its garage bench career | The new brass foot. A rip in the left board is visible |
 | 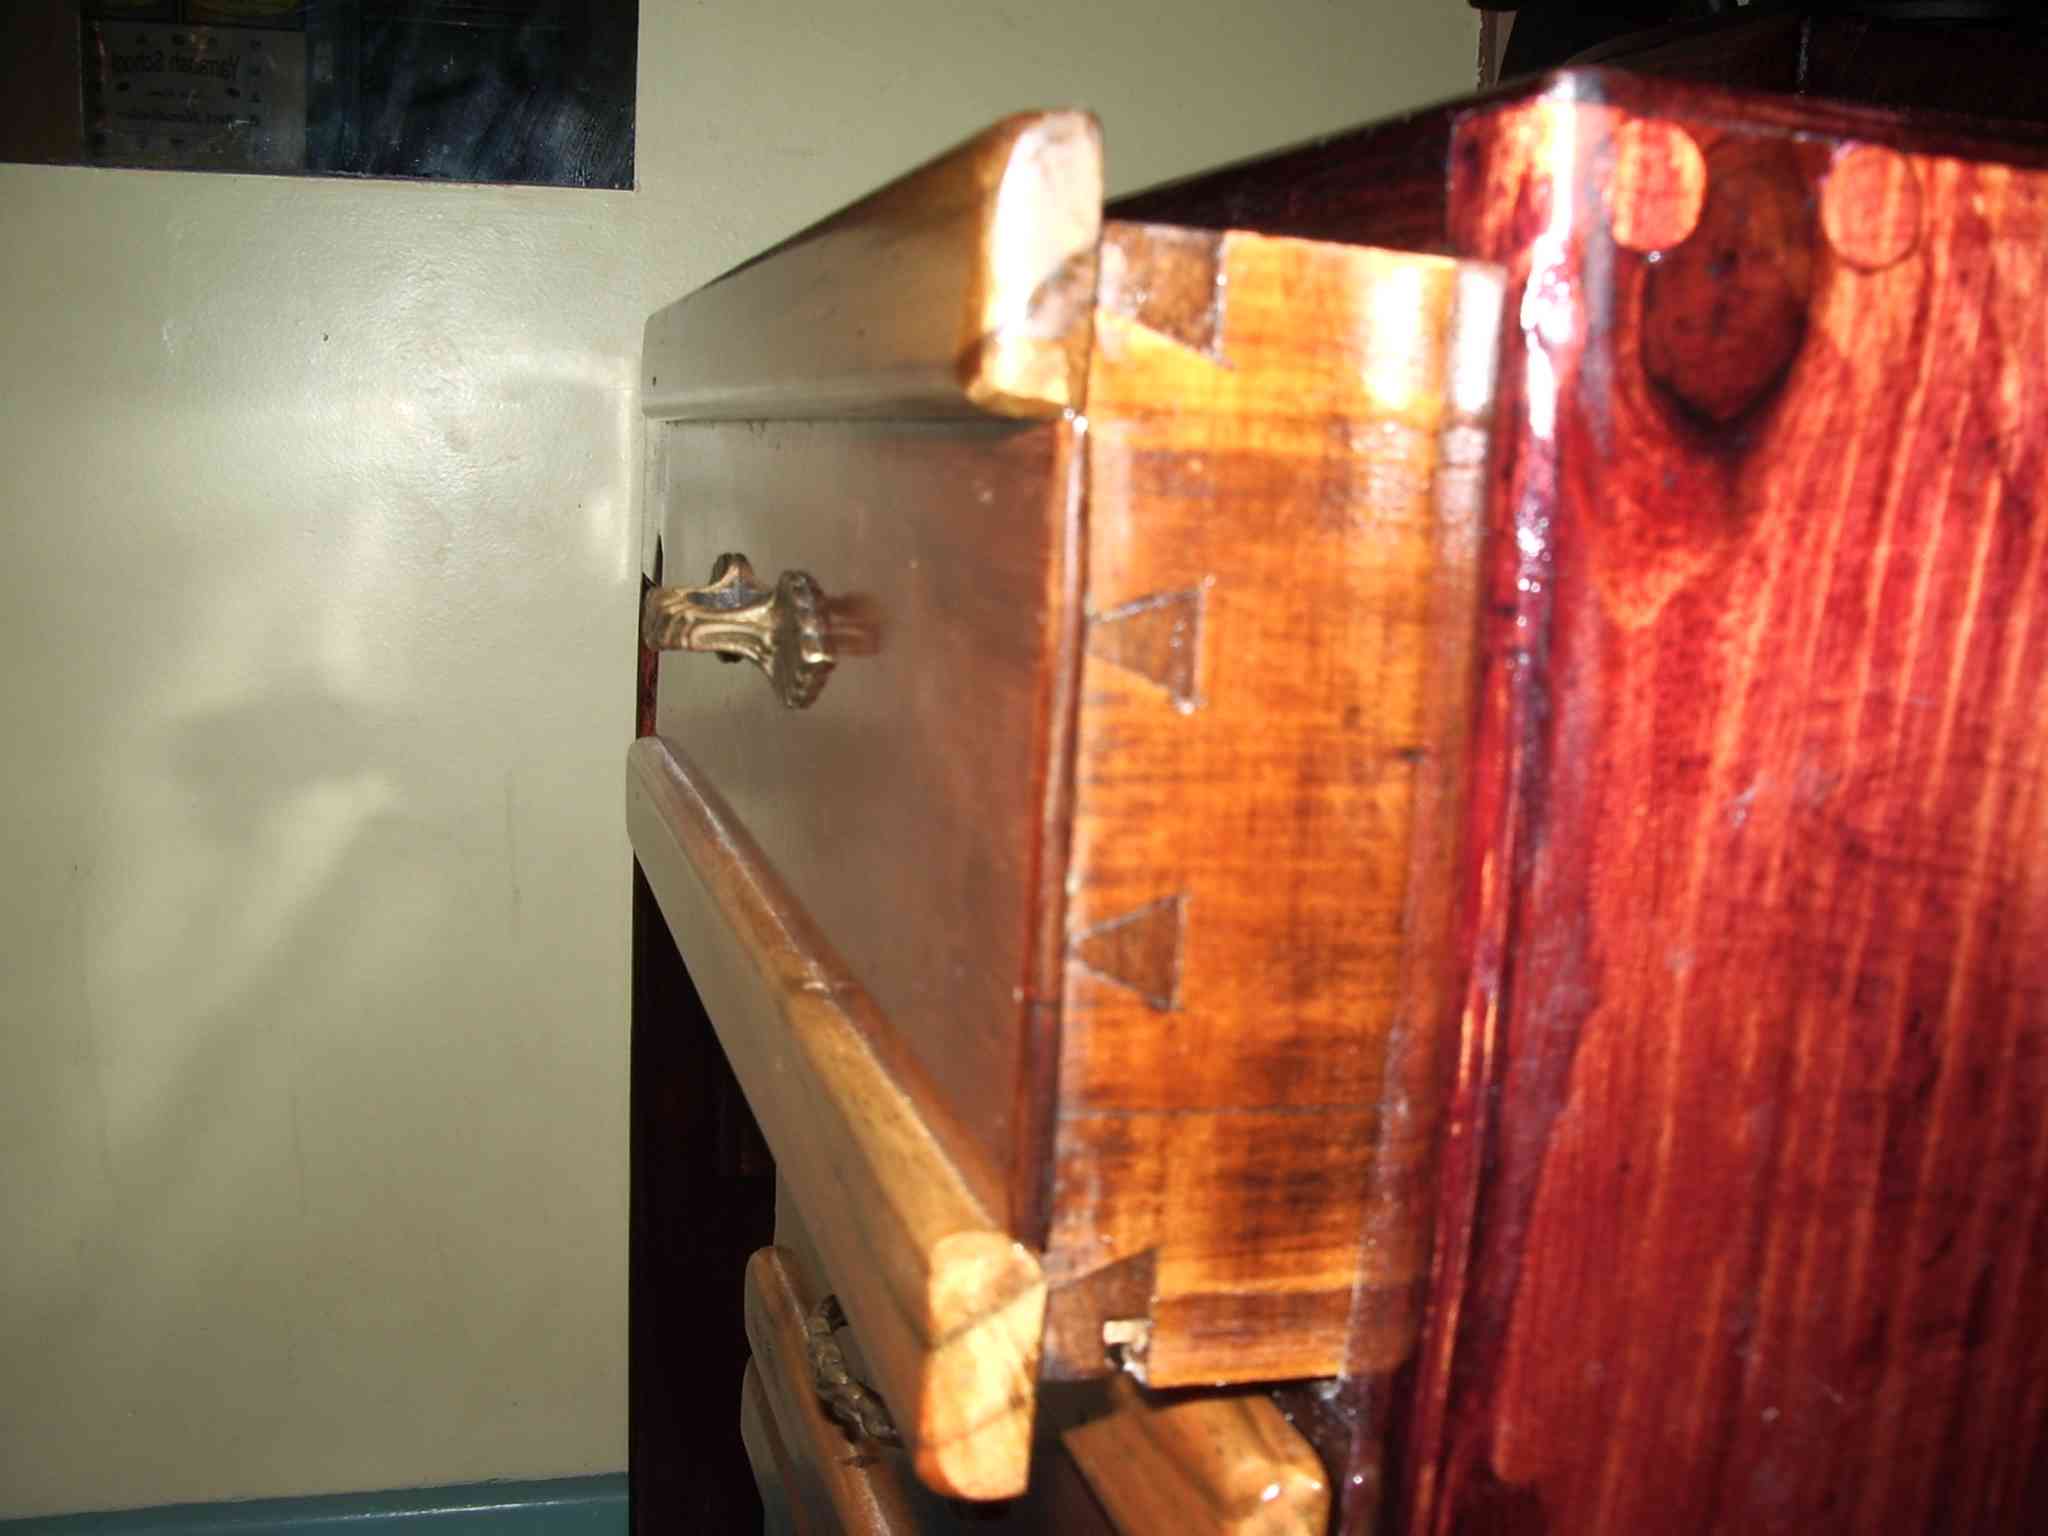 |
| One of the screwholes is invisible. Its the third one up | Hand cut dovetails. pencil layout marks are still visible |
All in all a successfull project. Some things to do better next time.
The Vermont American plug cutter has a design defect. The surface
on which it rotates has a rake clearance angle of zero. This results in
excessive friction causing burning on the circumference of the cut
plug. I should regrind it to give it small small measure of clearance.
Maybe the plug should be cut under water ? Some of the hole plugs
were very good indeed. This is a skill worth developing in the future.
I should have added castors. The decorative front board serves to
hide the secret shelf and provides bracing for the tabletop. I should
have used a finer grained timber stock for this. Its a piece of mystery
wood from a packing crate. The original was a thin cedar
board, same material as the tabletop, which I used as a source of
material for cutting the plugs. Maybe, instead of forcing the
original tabletop crack closed I could have made the crack regular
and inlayed a wood or brass strip. That was and still is beyond
my skill.
The project time for this was about three weeks total worth of my infinitisimal allotment of personal time.
home
mod record: updated using tables Fri May 9 18:15:10 EST 2008
copyright: none this article is copyleft, do with it whatever is your will, no rights reserved