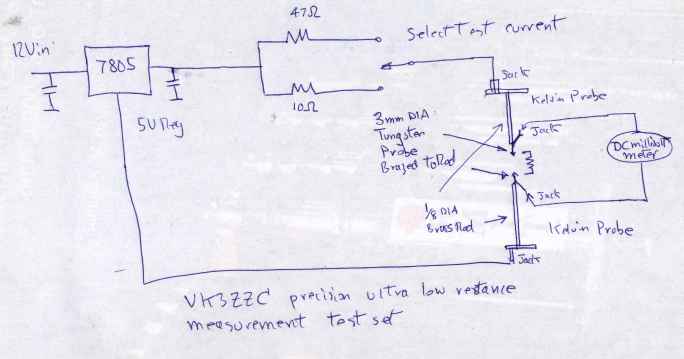
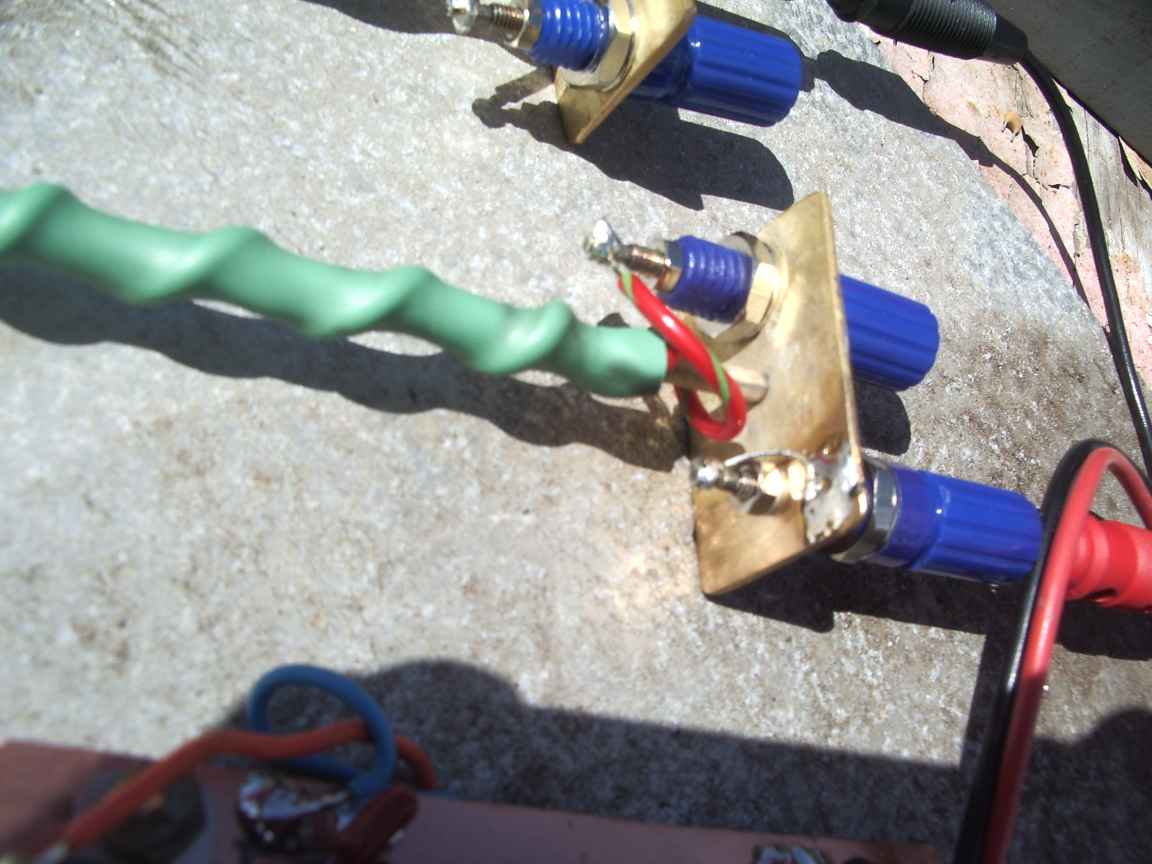
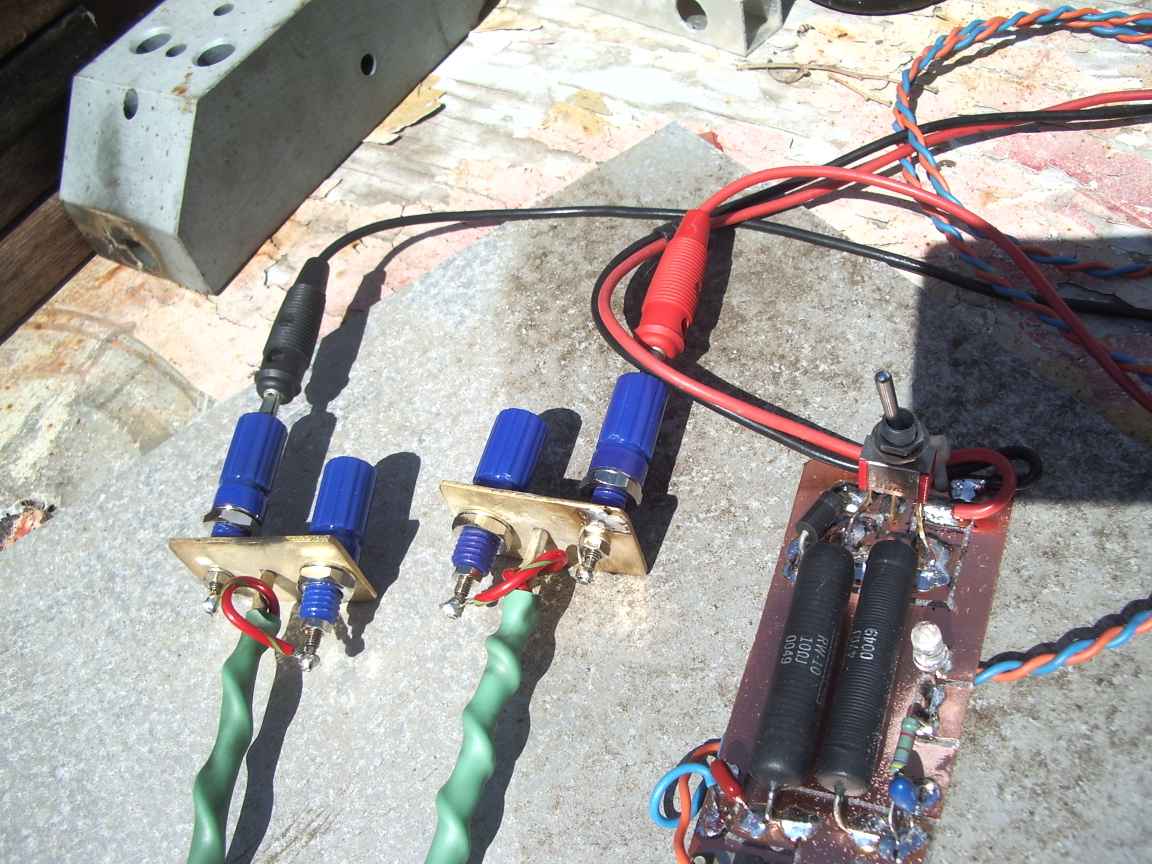
To eliminate the uncertainty of the probes, a four wire test set is required and constant current source and millivoltmeter will be required for meaningful measurements of DC resistance below 1 ohm. I have found that a practical test set can be constructed using a 100 milliampere constant current source, these probes and DC millivolt meter to give meaningful readings at the 100 micro-ohm scale.
The motivation for this project was provided by the acquisition of a Wavetek 300 PLL UHF signal generator that is beset by many problems. The first problem was that tantalum capacitors across its +/- 18V DC supply rail had shorted. These are inside seal metal enclosures and the prospect of having to open all of them was not to be entertained. I needed the ability to find multiple short circuits on a power bus, and as it turned out being able to measure resistance differences of the order of a tenth of a milliohm.
This objective launched an interesting journey of discovery because we have been conditioned to think of resistances below one ohm to be short circuits. This journey showed that not all short circuits were created equally !
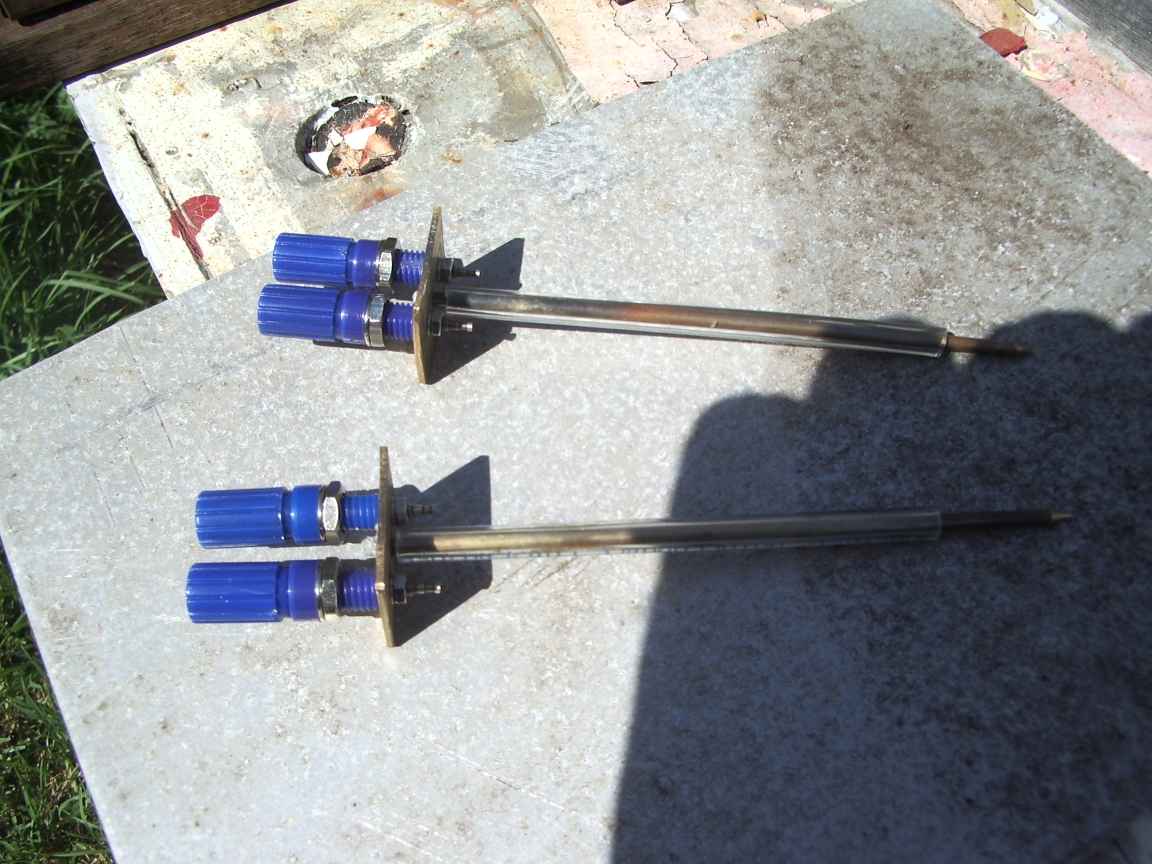
In the first attempt of a Kelvin probe, you can observe the two banana jacks attached to a brass bar and a brass probe made from 1/8 rod. This turned out to be an unsatisfactory probe because the resistance of the brass rod was actually greater than the resistances I was attempting to measure. The rods resistance was about 1.5 milliohms. The other major problem was that even though I had sharpened the probe tip to a needly point, the variation of probe tip to substrate resistance showed over one order of magnitude variation depending on how I held the prob. Measurements were simply not repeatable. They provided some encouragement , however, as things like my crowbar could now be measured or rather the non zero resistance of my number one crowbar was not, in fact , zero !
The next probe
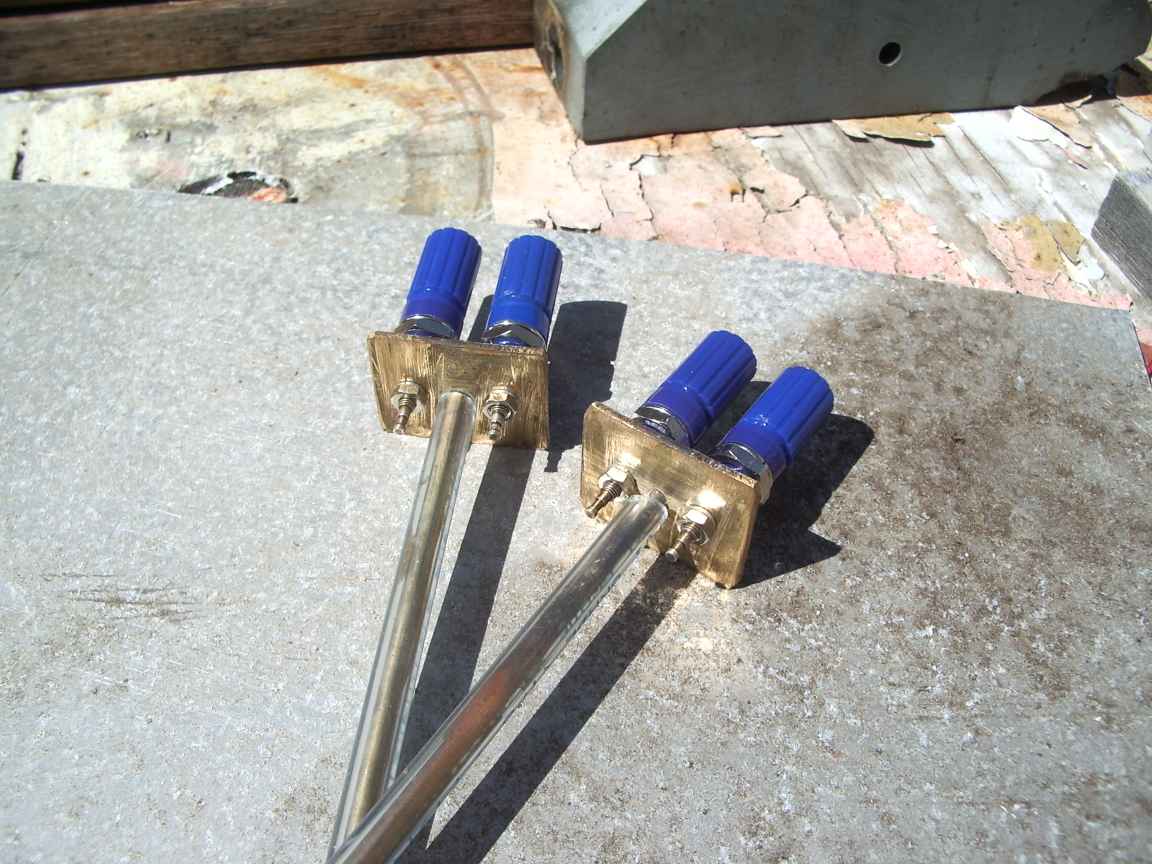
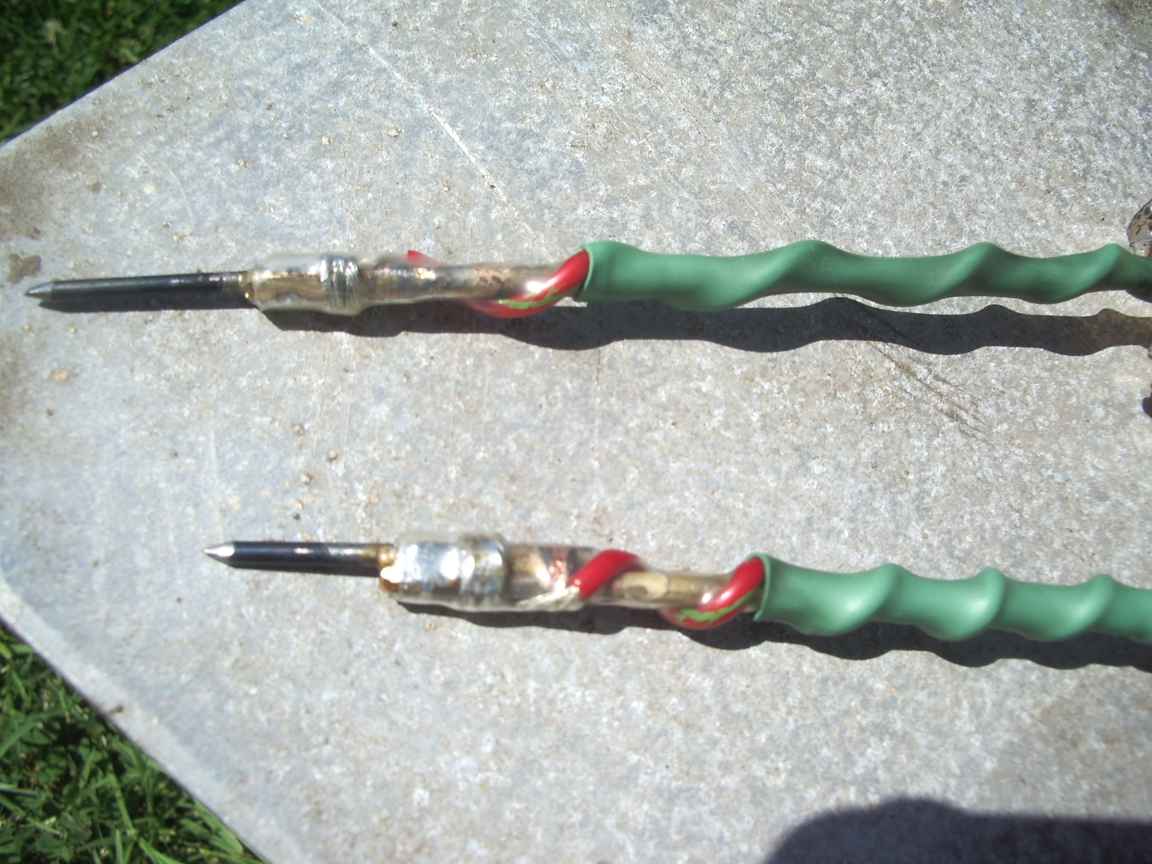
The next probe was designed to overcome the discovered shortcomings. The probe tip is a piece of 3mm tungsten TIG welding electrode. Tungsten is an extremely hard metal, sensibly inert and resistant to oxidation and corrosion at room temperature. I also discovered that you can braze tungsten, even though it is utterly impossible to solder directly to tungsten. I brazed a tungsten tip to my probe and terminated the voltmeter wires directly on the tip. The hard metal can be ground into a very sharp point that stays sharp during use. The contact potential of tungsten to other base metal also seems small. The measurements made with the tungsten probe are also sensibly repeatable down to the 100 micro-ohm scale.
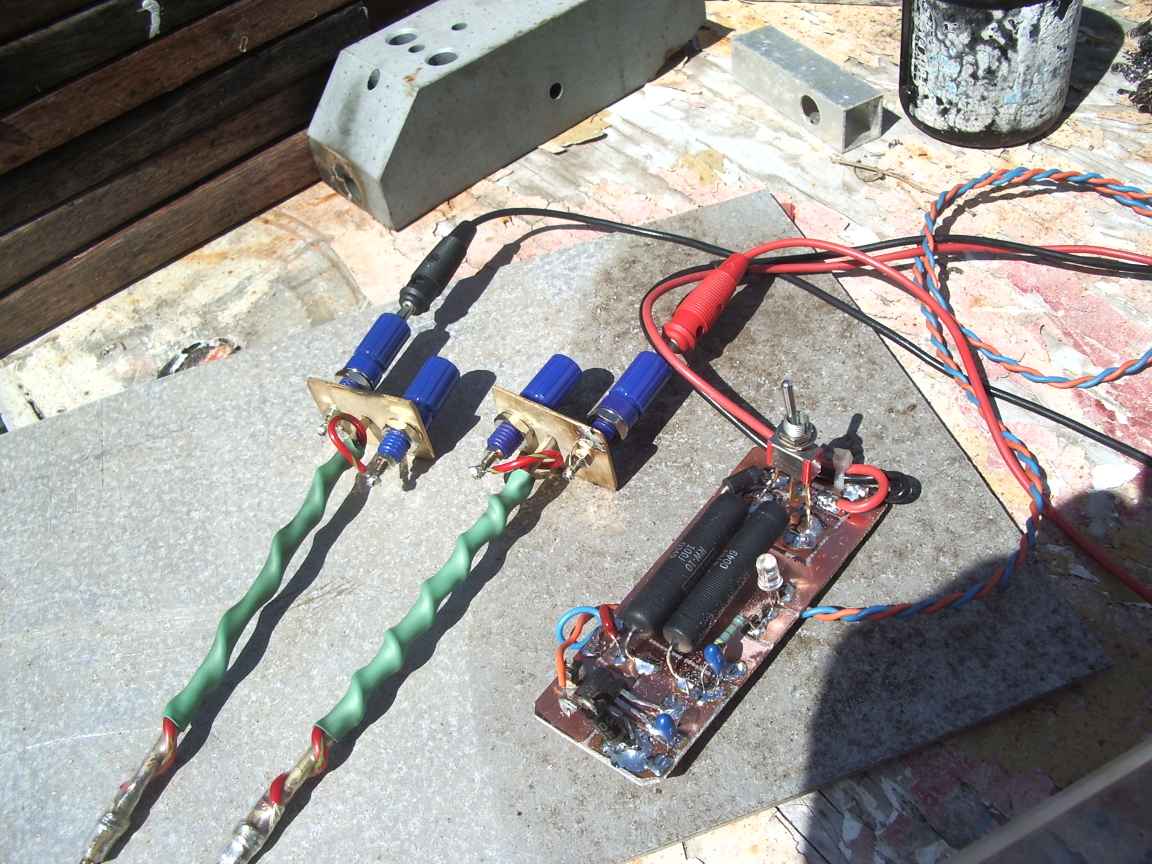
My constant current source is nothing more than a five volt regulator and a 47ohm or 10 resistance. When measuring below one ohm, this arrangement makes a sensibly accurate constant current source. I have found that 100milliamperes is sufficient current for good measurements. I had allowed for 500 milliamperes as well. This should have provided more accurate measurements of extremely low resistance however it is less repeatable. I expect that this is due to the current heating at the very fine needle points and now thermal emf distorts the voltage reading.
I can very thoroughly recommend this design of Kelvin probe for those seeking accurate multimeter style measurement of less than one ohm and those that are chasing an elusive short circuit. It is very handy for verifying transformer taps.
