Warning : these simple tips come from a hobbyist with no formal art/animation training or experience. Don't take them too seriously.
Back to the tips index
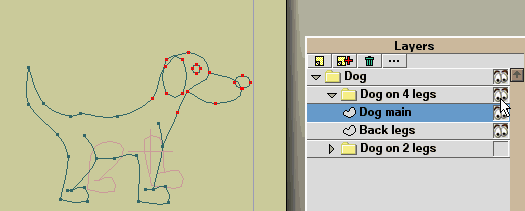
Visibility Switching
Workflow tips :
While in the layers palette, if you turn off the visibility off all layers at the same level as the current object, the visibility will then follow the current selection in that layer.
While this is not directly useful for animation, it gives you a chance to choose visually between alternative layers for an entire animation "shot".
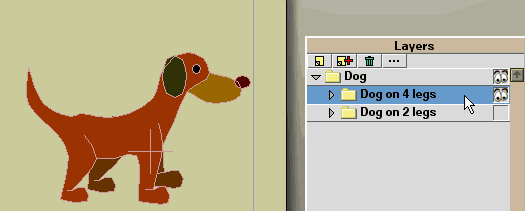
If the parent group for a number of layers has visibility turned off, the workflow shows the selected sub-layer only (no "grayed" unselected layers).
If the visibility for parent group is turned on, you see the other unselected sub-layers "grayed out".
Project tip :
By grouping entire scenes you can store an entire animation with multiple scenes into a single file.
Having keyframes for all the layers set in one long timing sequence, you can then animate the scene visibility, playing several scenes as one long animation.
Simple example with the same 2 scenes in sequence and switching visibility

(Tip of the hat to Worm and Lump, the first public Moho web page I found on a web search other than Lost Marble)
Alternatively, you can render the frames of each section separately e.g. frames 60-90 with only group layer ABC visible, then composite these layers with a video editing application, adding transitions, etc. In this way, you can even keep all your keyframes at the lower end rather than in sequence with other scenes i.e. all the scenes are actually overlaying each other, but you only make one visible for rendering at any one time.
Limited animation "cel" tip
You can use multiple versions of an object or part of a character on multiple layers then animate the visibility of the layers to switch betwen them - the equivalent of hand-painted animation cels - while you can do quite extensive animation this way, it is particularly useful for "limited animation" styles, common for "lower-quality" direct-to-TV cartoon animation. You can also animate within each version or "cel" using Moho's bone or point animation.
Make sure to keep all these variations under a single group layer, then you can assign the group layer to a bone rather than each variation.
Each variation can be a simple vector layer or even a group complete with its own bones, sublayers, etc.
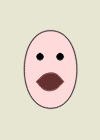
Another switcher tip
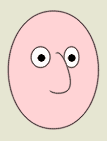
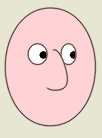
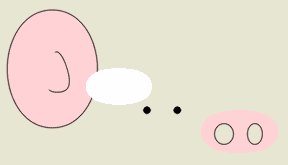
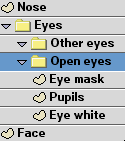
Myles's "sneaky" eye setup for use with the switchable eye technique (given above) uses a "skin mask" to let the pupils slide behind the rim of the eye, while still allowing for switchable eye variations. A similar thing can be done with mouths, where you want the tongue and/or teeth to disappear behind the lips.
You can use multiple layers (shown here), or single vector layer with layered texture groups