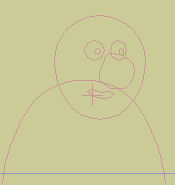
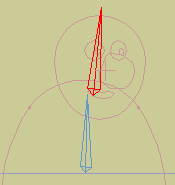
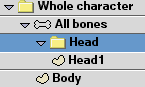
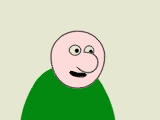
| Here's the character ... | ... and here's the bone setup ... | ... and the layer hierarchy. | |
|
|
Originally I would have attached the spline points for the head directly to the head bone. However, to make things easier for this squash-and-stretch technique I can instead attach the group layer (controlling the whole head) to the head bone. This also means that multiple versions of the head or features (see the visibility switching tip page) to do not have to be individually attached to the the bone.
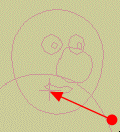
Here's the secret ingredient - set the origin of the head group layer to the base of the bone (or wherever you want the squash-and-stretch to be scaled from).
You can now animate the scale of the head group layer to animate squash-and-stretch for the head (note: some eye and mouth animation added separately). (I know this should be much snappier - I decided to leave it slow and floaty so you can see what's happening.)
If your head is all on one vector layer, you can use that vector layer instead of the group layer.